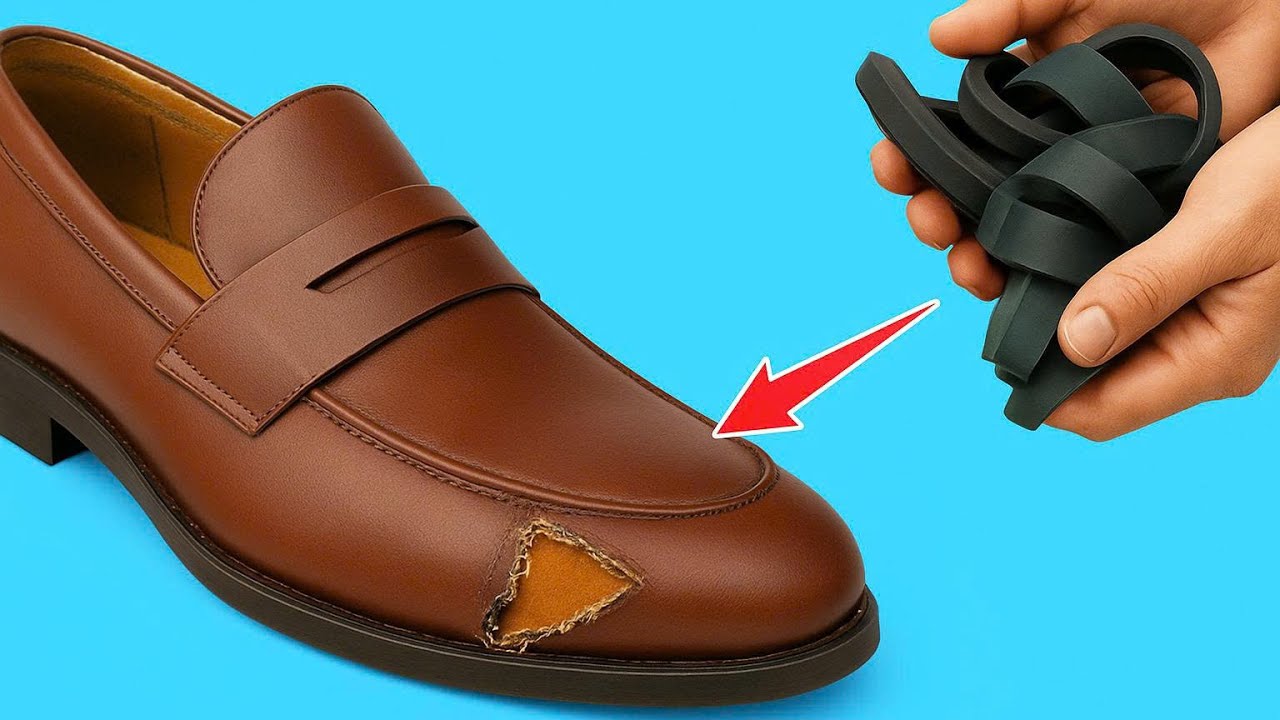
Discover 5 Easy Shoe Repair Tips from a 60-Year-Old Shoemaker with Just an Old Inner Tube!
Shoe Repair Tips from a 60-Year-Old Shoemaker Using an Old Inner Tube
- Introduction
- Essential Materials
- Step-by-Step Shoe Repair Process
- Common Mistakes to Avoid
- Frequently Asked Questions
- Conclusion
Introduction
Have you ever found yourself frustrated with a favorite pair of shoes that have seen better days? Whether it’s a worn-out sole or a stubborn tear, these issues can make you think twice about throwing them away. Fortunately, there are easy and practical solutions inspired by the wisdom of a seasoned shoemaker. By the end of this guide, you’ll feel empowered to give your shoes a new lease on life.
Essential Materials
Before diving into your shoe repair project, gather the necessary materials. Using an old inner tube can not only be a sustainable choice but also effective. Here’s what you’ll need:
- Old inner tube: for patches and reinforcements.
- Strong adhesive: durable glue that can handle wear and tear.
- Scissors: sharp enough to cut through rubber.
- Utility knife: for precise cuts and adjustments.
- Sandpaper: to roughen surfaces for better adhesion.
Step-by-Step Shoe Repair Process
Now that you have your materials, let’s explore the practical steps to repair your shoes.
1. Assess the Damage
Start by examining your shoes carefully. Identify areas that need repair, such as:
- Worn-out soles
- Loose seams
- Tears in the fabric
Noting these details helps you decide what type of repair is needed.
2. Prepare the Shoe and Inner Tube
Once you’ve identified the damaged areas, cut the inner tube into the right shapes to use as patches. Ensure they are large enough to cover the damaged area effectively.
Use sandpaper to roughen both the shoe surface and the inner tube patch for better adhesion.
3. Apply Adhesive and Attach Patches
Next, apply a thin layer of your strong adhesive to the shoe and the inner tube patch. Press the patch firmly onto the shoe, ensuring no air bubbles are trapped underneath.
Allow the adhesive to dry completely, following the manufacturer’s instructions for the best results.
4. Final Touches
After the patch has dried, check the repairs. If the repairs feel secure, test the shoes by gently bending them and walking around on a soft surface to ensure everything holds.
If you need to reinforce other sections, feel free to repeat the previous steps.
Common Mistakes to Avoid
As you embark on your shoe repair journey, be aware of these common pitfalls:
- Using the wrong adhesive: Not all glues are created equal; ensure it’s suitable for footwear.
- Skipping surface preparation: Not roughening surfaces can lead to poor adhesion.
- Cutting patches too small: Ensure your inner tube patches are big enough to cover damaged areas thoroughly.
- Not allowing enough drying time: Rushing this step can lead to failed repairs down the line.
Frequently Asked Questions
1. Can I use any type of inner tube for shoe repairs?
Yes, any old inner tube can be used as long as it’s in good condition without punctures.
2. How long will the repair last?
With proper materials and techniques, repairs can last for several months, depending on usage.
3. Is it worth repairing old shoes?
Absolutely! Repairing beloved shoes not only saves money but is also a sustainable choice.
Conclusion
Repairing your shoes using tips from a skilled shoemaker is a rewarding and sustainable endeavor. With the right materials and methods, you can bring your favorite footwear back to life. Have you ever tried shoe repair before? Share your experience in the comments below!