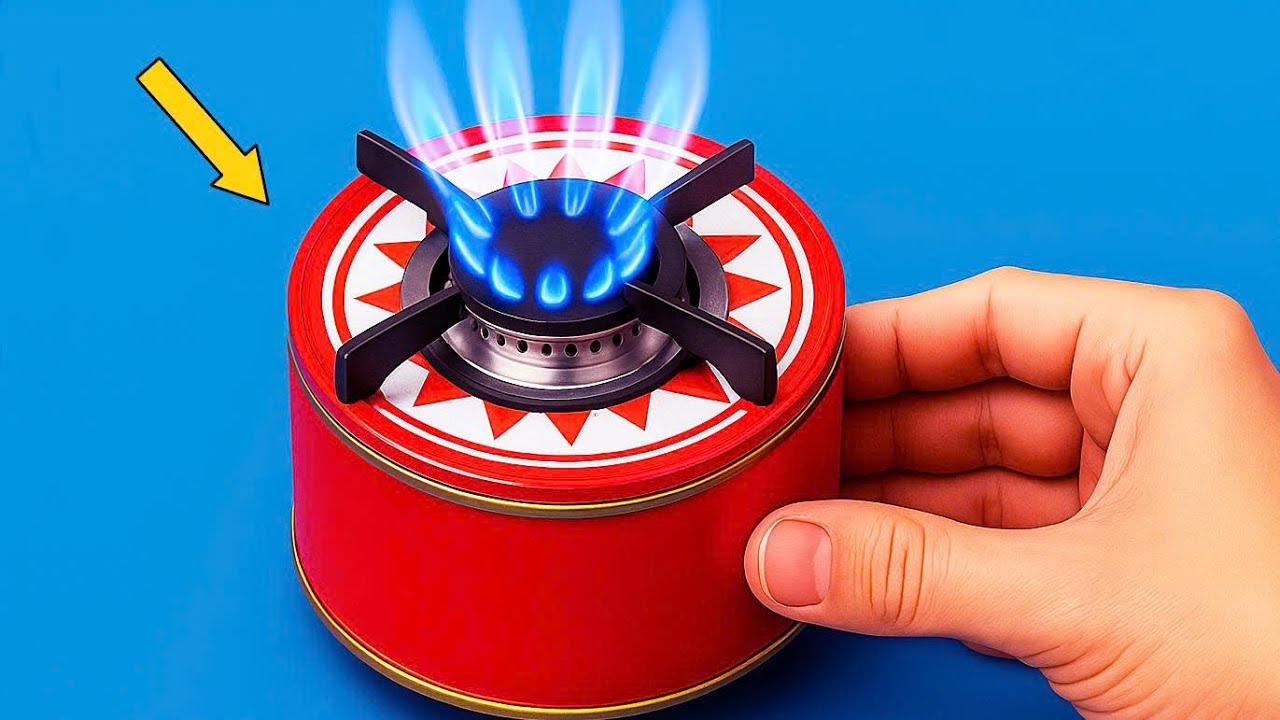
10 Easy Steps to Build a Rocket Stove from Tin Cans for Camping Adventures
How to Build a Rocket Stove from Tin Cans for Camping Adventures
Introduction
When planning a camping trip, finding a reliable cooking solution can be challenging. You might wonder how to prepare meals efficiently without lugging around heavy equipment. Using a simple and effective method like building a rocket stove from tin cans can significantly enhance your outdoor cooking experience. This not only provides a cost-effective solution but also allows you to adapt your stove based on your needs. Let’s explore how you can create this handy camping essential.
Required Materials
Before you dive into construction, gathering your materials is essential. Here’s a list to help you prepare:
- Two empty tin cans (one larger than the other)
- A pair of scissors or metal snips
- A hammer and a nail for making holes
- Insulation material, such as sand or dirt
- A lighter or matches for starting the fire
Make sure to clean the cans thoroughly before starting the project. This prevents any food residue from affecting your cooking.
Step-by-Step Guide
Building your rocket stove is simple and rewarding. Follow these steps to create an efficient cooking stove:
- Prepare the larger can: Use your hammer and nail to create several holes near the bottom to allow airflow.
- Insert the smaller can: Place it into the larger can. Ensure there’s space at the bottom for kindling.
- Fill the gap: Pack insulation material like sand or dirt between the two cans for stability and heat retention.
- Cut a hole at the top of the smaller can: This is where you will place your pots and pans. Make sure the opening is large enough for your cooking needs.
- Start the fire: Place small twigs and dry leaves at the bottom, use your lighter or matches to ignite, and gradually add larger sticks as the fire grows.
This simple construction allows you to cook efficiently over an open flame without needing additional bulky equipment. The rocket stove design also minimizes fuel consumption.
Practical Tips
- Choose cans with the widest opening for easy cooking access.
- An old can of your favorite beans can work well for your smaller stove.
- Be careful when cutting or handling the cans to avoid sharp edges.
Variations to Consider
If you want to personalize your rocket stove, consider experimenting with different sizes of cans or adding a chimney extension for better airflow. This can increase the efficiency of your stove and direct smoke away from your cooking area.
Common Mistakes to Avoid
While building a rocket stove from tin cans is straightforward, there are a few common pitfalls to watch for:
- Not creating enough air holes, leading to poor combustion.
- Using cans that could release harmful materials when heated, such as coated cans.
- Overpacking the insulation material, which can restrict airflow.
- Failing to secure the smaller can properly, risking stability while cooking.
- Attempting to cook larger meals that exceed the stove’s capacity.
FAQ
Can I use any type of tin can for my rocket stove?
Yes, you can use various sizes of tin cans, but ensure they are clean and free from any hazardous coatings.
How long will the rocket stove last?
The stove can last through several uses, but the metal can wear down over time, especially if exposed to high heat.
What type of fuel should I use?
Small twigs, dry leaves, and other natural materials make excellent fuel for your rocket stove.
Conclusion
Building a rocket stove from tin cans is a practical and effective solution for your camping cooking needs. With a few simple steps and careful preparation, you can prepare your meals outdoors with ease. What’s your favorite outdoor cooking hack? Share your thoughts in the comments below!