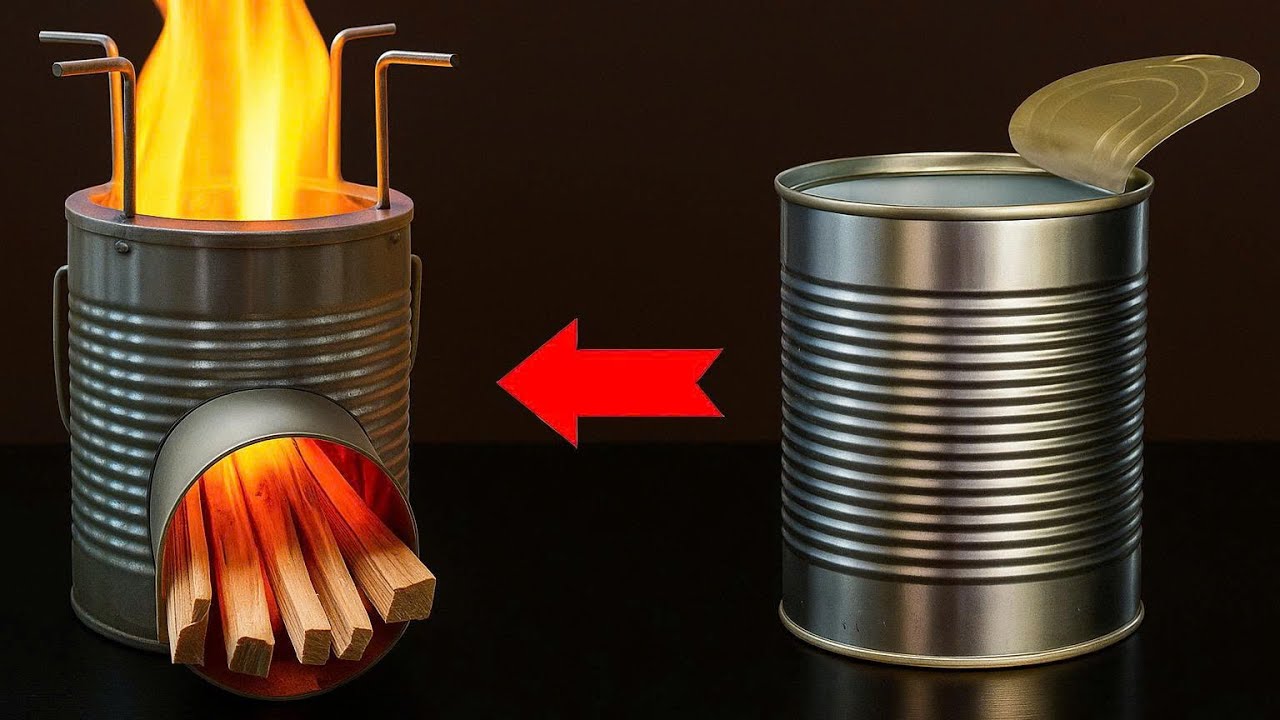
7 Easy Steps to Build a Tin Can Rocket Stove for Your Next Camping Adventure
7 Easy Steps to Create a Tin Can Rocket Stove for Your Next Camping Adventure
- Introduction
- Required Materials
- Detailed Steps for Construction
- Practical Tips for Using Your Rocket Stove
- Common Mistakes to Avoid
- FAQ
Introduction
Camping can be exhilarating, but cooking over an open flame can sometimes feel daunting. You might find yourself wishing for a reliable and portable cooking solution as you settle by the campfire. A DIY tin can rocket stove is a fantastic way to harness the power of fire efficiently, making outdoor cooking both simple and enjoyable. In the following sections, you’ll discover how you can create one for your next adventure.
Required Materials
Gathering the right materials is essential for building your tin can rocket stove. Here’s what you will need:
- Two empty tin cans (one larger than the other)
- Drill or a sharp tool for making holes
- Scissors or tin snips
- Sandpaper or a file
- Rust-resistant paint (optional)
- Sticks or small wood pieces for fuel
- Heat-resistant gloves
Having these materials on hand will make the construction process much smoother.
Detailed Steps for Construction
Creating your own tin can rocket stove involves a few straightforward steps. Follow these instructions to get started:
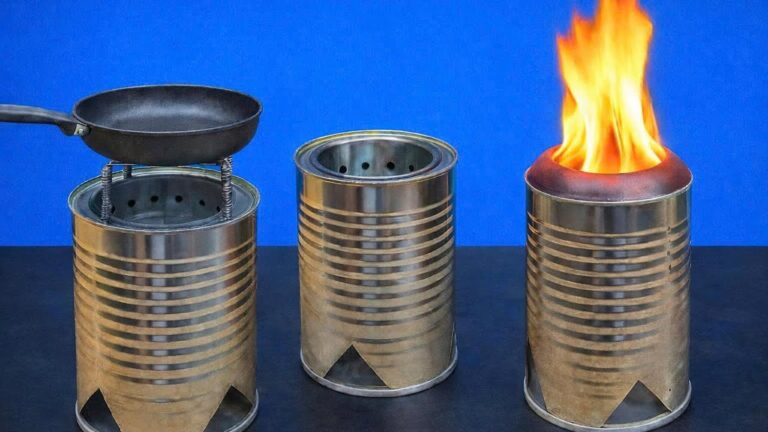
- Prepare your tin cans by removing labels and cleaning them thoroughly.
- Remove the top from the smaller can; this will be the upper part of your stove.
- Drill a series of small holes around the bottom of the larger can to allow air intake.
- Place the smaller can inside the larger can, leaving a gap at the bottom for airflow.
- Use sandpaper to smooth any sharp edges, ensuring safety during use.
- If desired, paint the outside of the larger can with rust-resistant paint to add a personal touch.
- Let the stove dry completely before using it.
Customizing Your Stove
Feel free to personalize your stove design with colors or by adding decorative elements. The more you engage in this process, the more special it becomes for your camping experience.
Choosing the Right Location
Placement is crucial when using your rocket stove. Set it on a flat, stable surface away from flammable materials to ensure safety. This setting will also enhance the efficiency of your cooking.
Practical Tips for Using Your Rocket Stove
To maximize the performance of your rocket stove, consider the following tips:
- Light your fire with dry twigs or small pieces of kindling for immediate heat.
- Keep the fuel dry to improve burning efficiency.
- Avoid using large logs or wet wood, as these can clog the airflow and reduce heat.
Maintaining Your Stove
After each use, clean your stove to prevent residue build-up. A quick wipe with cloth should suffice, ensuring it remains in good condition for your next outing.
Serving Up Your Meals
When it comes to cooking on your rocket stove, simple meals are best. Consider using lightweight, easy-to-prepare meals to enjoy quality time with your companions.
Common Mistakes to Avoid
While crafting and using a tin can rocket stove is relatively simple, there are some pitfalls to watch out for:
- Failing to clean the cans prior to construction, which can affect safety.
- Not allowing proper airflow, leading to inefficient burning.
- Underestimating fuel requirements, which can result in incomplete cooking.
- Using the stove too close to your tent or flammable items.
- Neglecting safety gear, such as gloves, while handling hot materials.
FAQ
What is a tin can rocket stove?
A tin can rocket stove is a small, efficient cooking device made from two tin cans that utilizes small sticks or twigs as fuel, perfect for camping.
How long does it take to build a tin can rocket stove?
The construction process typically takes about 30 minutes, depending on your experience and the tools you have available.
Is it safe to use a tin can rocket stove?
Yes, as long as you follow safety precautions, such as using it in a well-ventilated area and not placing it near flammable materials.
Conclusion
A tin can rocket stove is a practical solution for your camping cooking needs, combining simplicity with efficiency. By following the steps outlined above, you can ensure a unique cooking experience in the great outdoors. What meals do you plan to prepare with your new stove? Share your thoughts in the comments!