10 Stunning DIY Cement Flower Vases You Can Make Today!
10 Stunning DIY Cement Flower Vases You Can Make Today
- Introduction
- Materials Needed
- Step-by-Step Guide to Creating Cement Vases
- Personalizing Your Vases
- Common Mistakes to Avoid
- FAQs
- Conclusion
Introduction
Have you ever found yourself staring at a plain corner in your home, wondering how to add a touch of style without spending too much? One simple idea is to create your own flower vases, which not only brighten your space but also allow you to express your creativity. Using cement for DIY flower vases is a unique choice that combines strength with a modern aesthetic. Continue reading to discover how to craft these stunning pieces yourself.
Materials Needed
Before diving into your DIY project, gather these essential materials:
- Cement mix
- Water
- Mixing container
- Stirring stick
- Vase mold (silicone molds work well)
- Cooking spray (for easier mold release)
- Sandpaper (for finishing touches)
Step-by-Step Guide to Creating Cement Vases
Creating your DIY cement flower vases is an enjoyable process. Follow these steps to achieve great results:
1. Prepare the Mold
- Coat the inside of your mold with cooking spray. This step helps to release the cement once it’s set.
- Set your mold on a flat surface to avoid spillage.
2. Mix the Cement
- Combine the cement mix with water in your mixing container. Follow the instructions on the packaging for the right proportions.
- Stir until you achieve a smooth consistency, free of lumps.
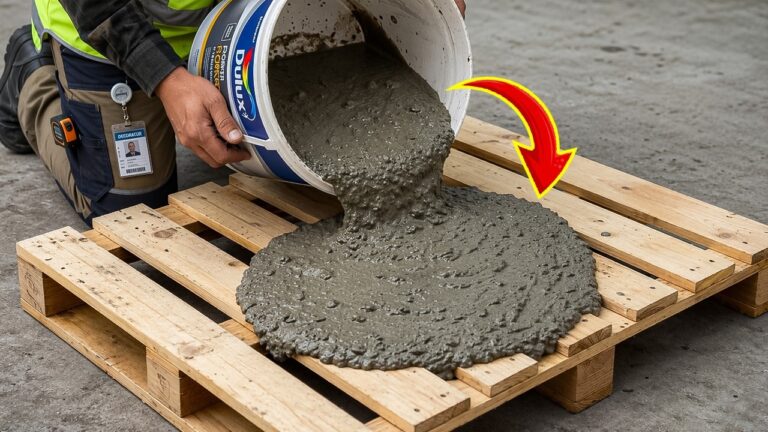
3. Pour the Cement into the Mold
- Carefully pour the mixed cement into your mold. Fill it to the desired level depending on the height of the vase you wish to create.
- Tap the sides of the mold gently to remove any air bubbles.
4. Let it Set
Allow the cement to cure according to the instructions on the package, typically 24-48 hours. Check if it’s fully hardened before removing from the mold.
5. Finishing Touches
- Remove the vase from the mold carefully once it’s completely set.
- Smooth any rough edges with sandpaper for a polished look.
Personalizing Your Vases
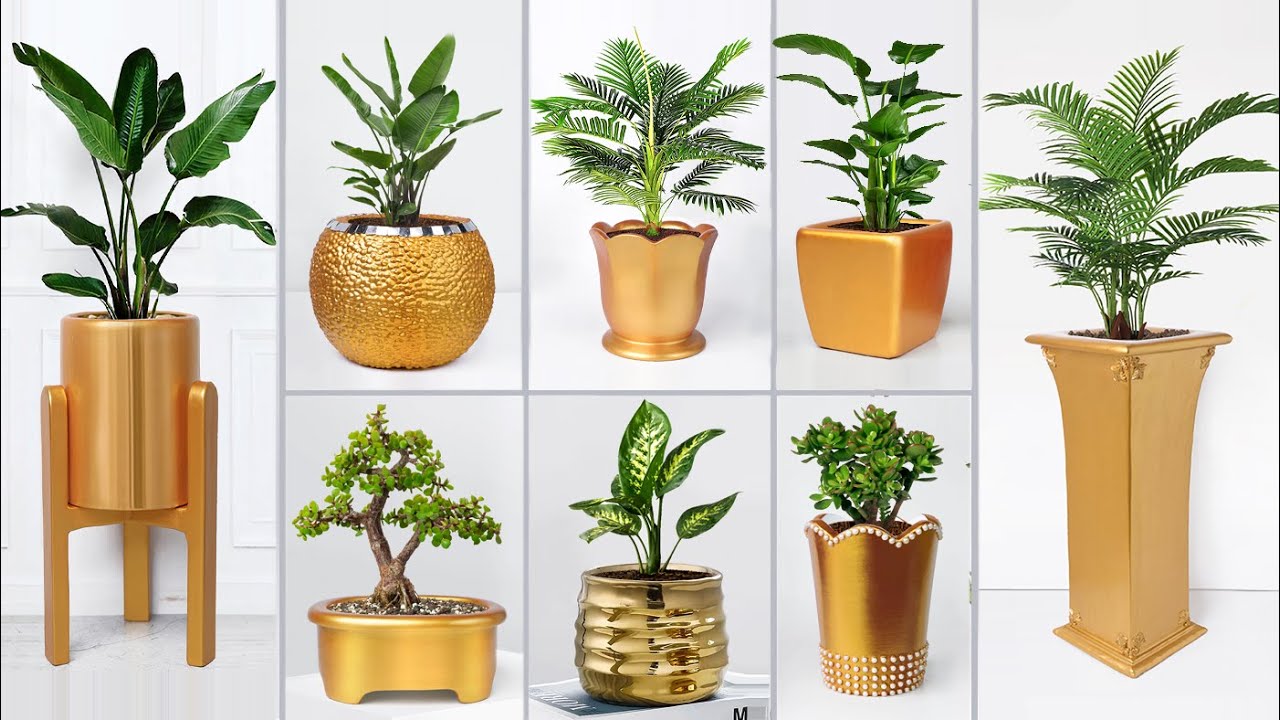
Once you’ve mastered the basics, you can personalize your DIY cement flower vases in various ways:
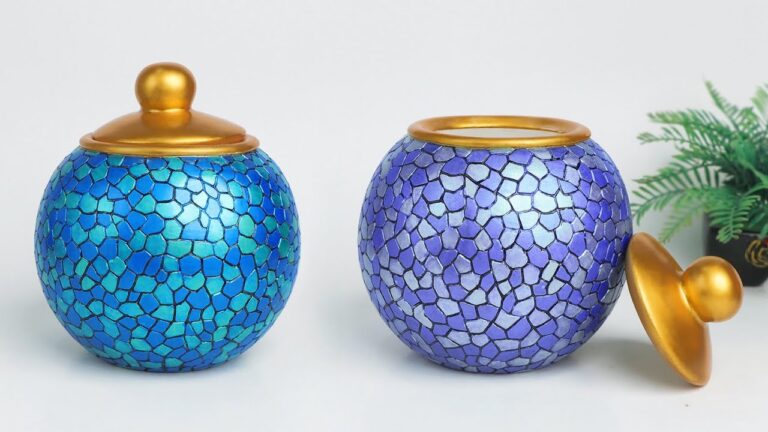
- Paint the exterior with waterproof paint for a splash of color.
- Add decorative elements like twine, beads, or stones before the cement hardens for added texture.
- Experiment with different mold shapes for a variety of designs.
Each vase can become a unique piece that complements your home décor style.
Common Mistakes to Avoid
To ensure the best results with your DIY cement flower vases, keep these common mistakes in mind:
- Using too much water in the cement mix can weaken the final product.
- Neglecting to prepare the mold properly, which can make removal difficult.
- Rushing the curing process leads to unsteady vases.
- Skipping the sanding step can leave sharp edges that may be unsafe.
- Forgetting to plan drainage holes if you intend to use the vase for fresh flowers.
FAQs
How long does it take for the cement to cure?
Typically, cement takes about 24-48 hours to cure fully, but it’s best to follow the package instructions for specific products.
Can I use regular containers as molds?
Yes, but ensure they are well-greased with cooking spray or a release agent to help you remove the cement easily after setting.
What type of paint is safe for decorating cement vases?
Use waterproof outdoor paint to ensure durability and a finished look that can withstand moisture, especially if using fresh flowers.
Conclusion
Creating your own DIY cement flower vases is a satisfying project that adds charm to your home. With minimal supplies and a bit of creativity, you can enhance your living space beautifully. Have you tried making your own vases? Share your experiences in the comments below!