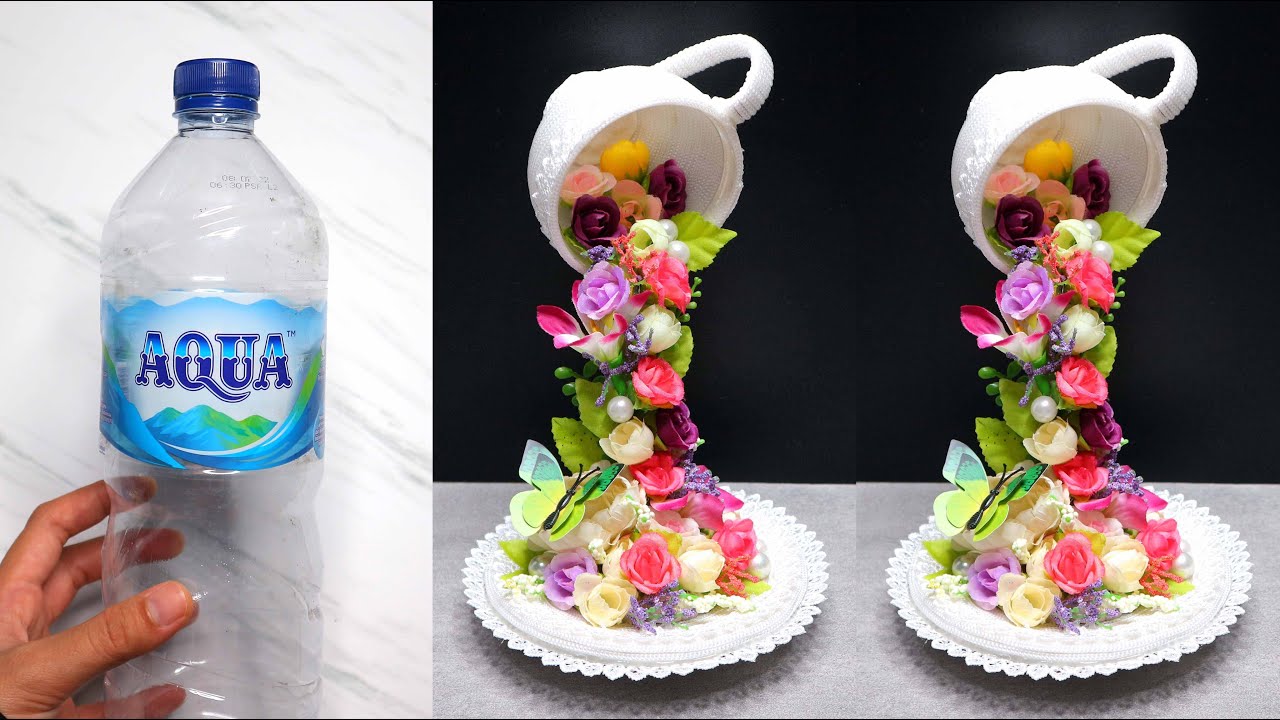
Create 5 Impressive Floating Tea Cups Using Recycled Plastic Bottles!
Create 5 Impressive Floating Tea Cups Using Recycled Plastic Bottles
Introduction
Have you ever found yourself overwhelmed by the number of empty plastic bottles piling up in your home? Instead of tossing them into the recycling bin, consider transforming them into stunning floating tea cups for your garden or patio. These whimsical decorations not only enhance your outdoor space but also promote sustainability by reusing materials. Curious about how to create these delightful pieces? Read on to uncover the steps and design ideas that will help you bring this project to life.
Getting Started
Before diving into your project, gather your materials and decide on your design. Here’s a practical list to help you kick things off:
- Gather five empty plastic bottles (preferably large ones).
- Choose vibrant paint or spray paint for the cups.
- Find decorative items like ribbons, sequins, or washi tape.
- Prepare a pair of scissors, a utility knife, and hot glue.
- Collect additional materials for stabilization, like stones or gravel.
Design Ideas
Now that you have your materials, let your creativity shine! Here are some inspiring design ideas to personalize your floating tea cups:
- Color Combinations: Use pastel shades for a soft garden feel or vibrant hues to make a bold statement.
- Decorative Touches: Add hand-painted designs or decoupage with floral patterns to elevate the look.
- Layering Effects: Stack smaller cups inside larger ones for a tiered effect, combining various sizes for visual interest.
- Seasonal Themes: Change decorations with the seasons – use autumn leaves for fall and bright flowers for spring.
Preparation Steps
Follow these steps to create your floating tea cups:
Step 1: Prepare the Bottles
First, carefully cut the tops off of each plastic bottle, ensuring a clean edge. This will create the cup-like shape for your project.
Step 2: Paint the Cups
Next, paint the exterior of the bottles with your chosen colors. Allow each coat to dry thoroughly before adding additional designs or layers.
Step 3: Decorate
Once the paint is dry, apply decorative items like ribbons or sequins with hot glue. Let your imagination guide you in creating unique details.
Step 4: Create Stability
For the floating effect, fill each cup with small stones or gravel. This adds weight and helps them float effectively in water.
Step 5: Display Your Cups
Finally, place your decorated cups in a garden pond, birdbath, or any water feature where they can be showcased. Ensure they are secure and stable to avoid tipping over.
Mistakes to Avoid
While creating floating tea cups can be enjoyable, there are common pitfalls to watch out for. Here are some mistakes to avoid:
- Rushing the Drying Process: Not allowing paint or glue to dry may result in smudges or pieces falling off.
- Using Weak Adhesives: Avoid using regular glue for decorative pieces; opt for hot glue for better durability.
- Ignoring Stability: Neglecting to properly weight the cups may cause them to tip or sink.
- No Protective Finish: Skipping a sealant on the paint may lead to fading from outdoor elements.
FAQ
Can I use any type of plastic bottle?
Yes, you can use various sizes and shapes of plastic bottles. However, larger bottles often work better for stability.
What type of paint should I use?
Acrylic paint or spray paint designed for plastics is ideal for this project, as it adheres well and provides a vibrant finish.
How do I ensure the cups float properly?
Fill the bottom of each cup with smaller pebbles or gems for stability. Ensure the overall weight is balanced for effective floating.
Conclusion
Creating floating tea cups using recycled plastic bottles is not only a fun project but also a wonderful way to upcycle household items. By following these design ideas and preparation steps, you can personalize your garden space beautifully. What unique designs will you create for your floating tea cups? Share your thoughts in the comments below!