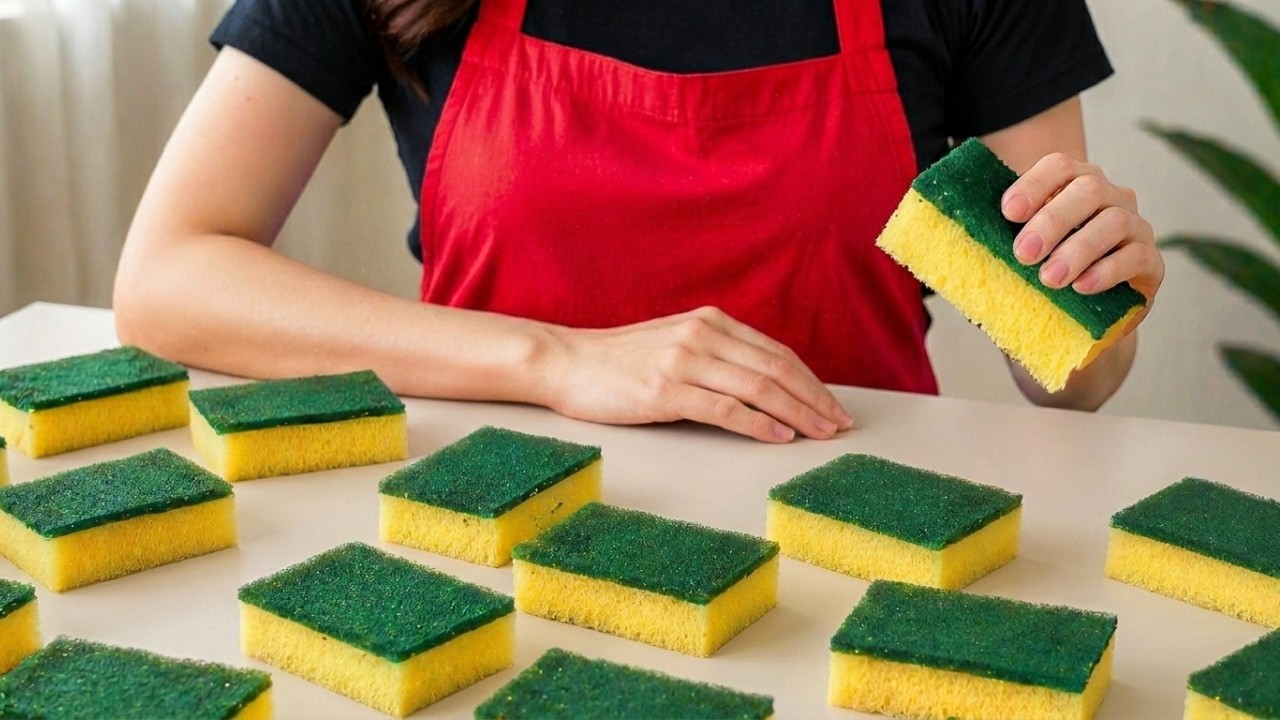
18 Genius Sponge Hacks That Will Transform Your Cleaning Routine Forever!
18 Genius Sponge Hacks to Transform Your Cleaning Routine
We all know that cleaning can be a daunting task, often leading to frustration when the right tools seem out of reach. You might find yourself stuck in a routine that doesn’t yield the desired results or even worse, wasting time on ineffective methods. Instead of settling for a lackluster cleaning experience, how about discovering clever ways to enhance your sponge’s performance? Keep reading to learn some ingenious hacks that can make cleaning simpler and more efficient.
Quick Cleaning Tips
Using your sponge effectively can significantly reduce the time spent on cleaning tasks. Here are some practical tips to help you maximize your sponge’s potential.
1. *Preparation for Maximum Efficiency*
- Rinse your sponge thoroughly before use. This helps remove any leftover cleaning agents from previous tasks.
- Use warm water for a better lather with soaps and detergents. The heat opens the pores in the sponge, allowing it to absorb more liquid.
- Wring out excess water to avoid drenching surfaces, which can lead to longer drying times.
2. *Enhancing Cleaning Power*
- Combine your sponge with baking soda to create a powerful abrasive cleaner for tougher stains.
- Add a few drops of your favorite essential oil to your sponge to both clean and freshen the air.
- Soak your sponge in vinegar before use. This helps kill bacteria and leaves surfaces sparkling clean.
3. *Deep Cleaning Your Sponge*
An effective cleaning tool needs to be squeaky clean itself. Here’s how to do it:
- Microwave your damp sponge for 1-2 minutes to kill bacteria effectively.
- Run your sponges through the dishwasher for a thorough clean. Place them on the top rack for best results.
Creative Reuse Methods
Your sponges can serve purposes beyond cleaning! Here are some unique ways to repurpose them around your home.
1. *Gardening Helpers*
- Cut sponges into small pieces and place them at the bottom of plant pots. This helps with drainage while retaining moisture.
- Use them as a seed starter. A damp sponge can provide a nurturing environment for seeds to germinate.
2. *Crafting Projects*
If you’re feeling crafty, try these fun projects:
- Cut sponges into shapes for stamp art. Dip them in paint and press them onto paper or fabric.
- Create a playful texture by layering different-sized sponge pieces on a canvas.
3. *Home Decor Items*
- Wrap sponges in fabric to create unique decorative covers for jars or vases.
- Make a DIY sponge wreath by layering and gluing sponges onto a foam ring.
Storage Solutions
Keeping your sponges organized can streamline your cleaning routine. Here are some effective storage ideas.
1. *Smart Storage Containers*
- Choose containers with drainage holes so sponges can dry properly, preventing odors and bacteria.
- Label each container to categorize sponges based on their use, such as kitchen or bathroom sponges.
2. *Hanging Storage*
Maximize your space by hanging your sponges. Here’s how:
- Install a pegboard or hooks on the wall for easy access.
- Use a mesh bag to hold several sponges, allowing them to air out and dry effectively.
3. *Drawer Solutions*
- Include a small tray or basket inside your kitchen drawer to keep sponges neat and organized.
- Separate by using drawer dividers, making it easy to find the right sponge when needed.
Common Mistakes to Avoid
1. *Not Rinsing After Use*
Failing to rinse your sponge can lead to bacteria build-up, which can transfer back to your surfaces during cleaning sessions.
2. *Using the Same Sponge for Multiple Purposes*
Using one sponge for different areas, like the kitchen and bathroom, can spread germs and bacteria. It’s best to have dedicated sponges for each area.
3. *Neglecting to Replace Sponges*
Sponges wear out and become less effective over time. Regular replacement ensures that you’re using a clean tool for your cleaning needs.
FAQ
Can I disinfect my sponge?
Yes, you can disinfect your sponge by soaking it in a solution of vinegar and water or by microwaving it if it’s damp.
How often should I replace my sponges?
It’s advisable to replace your sponges every 4 to 6 weeks, especially if they start to smell or show signs of wear.
Can I use a sponge for all cleaning tasks?
Sponges are versatile but avoid using them on delicate surfaces or for tasks that require a more abrasive tool.
By incorporating these sponge hacks into your cleaning routine, you’ll not only enhance your efficiency but also breathe new life into an everyday cleaning tool. What other creative ways have you found to use sponges? Share your thoughts in the comments below!