7 Simple Steps to Create a No-Electricity Mini Heater at Home
How to Create a No-Electricity Mini Heater at Home
Introduction
As winter approaches, many of us feel the chill in our homes, leading us to search for cost-effective ways to keep warm. If you’ve noticed your heating bill skyrocketing or simply want to explore more sustainable options, you might find yourself looking for alternative heating solutions. A no-electricity mini heater could be the answer you need. Keep reading to discover a straightforward method to create one yourself.
Required Materials
Before diving into the project, gather the following materials to ensure a smooth crafting experience.
- Terracotta pot (one large and one small)
- Metal stand (to hold the pots)
- Tea lights (at least 4-5)
- Fire-resistant surface (like a tile or stone slab)
- Matches or a lighter
Step-by-Step Guide
Creating your own mini heater is easier than you might think. Follow these simple steps to make one.
- Prepare your working area by ensuring it’s clear and safe. Place the fire-resistant surface where you’ll be setting up the heater.
- Place the small terracotta pot upside down on the metal stand. This will serve as the base for your mini heater.
- Arrange the tea lights around the base of the small pot. Make sure they are evenly spaced.
- Light the tea lights one by one, taking care to ensure they are stable and won’t tip over.
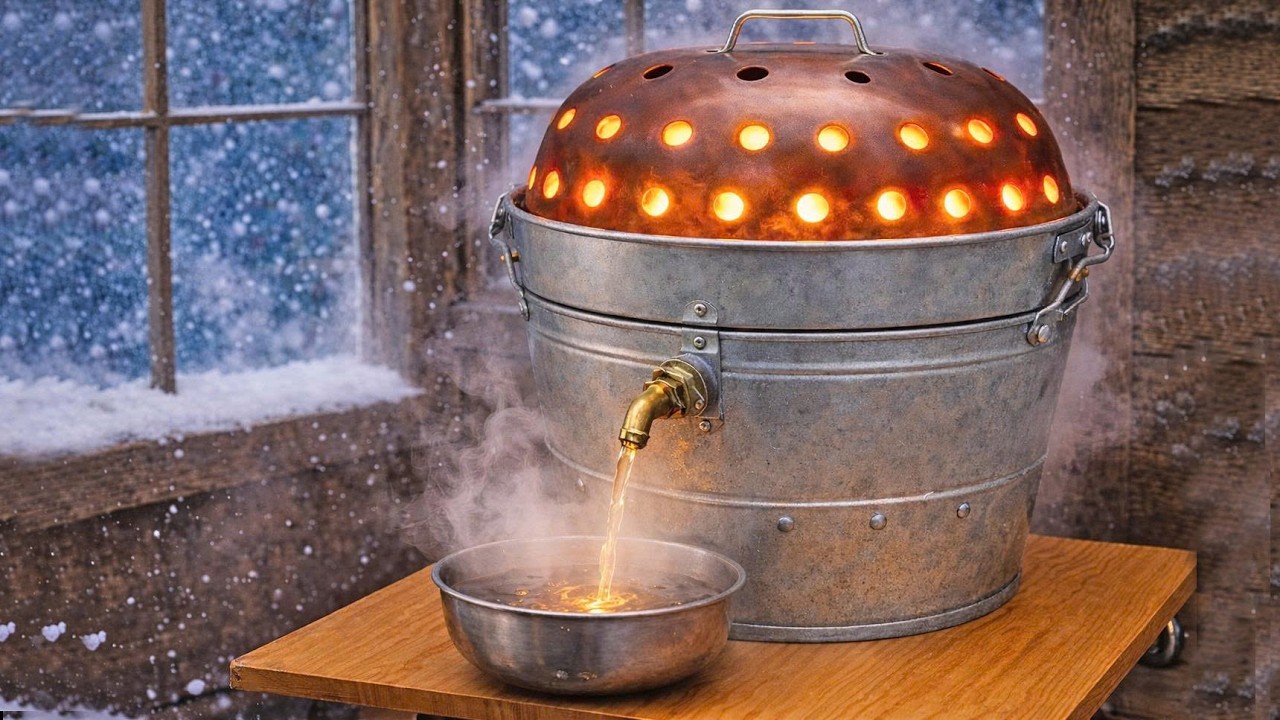
- Cover the lit tea lights with the larger terracotta pot, creating a chamber. This will help to radiate heat effectively.
- Monitor the setup while it’s lit, ensuring the flames are contained and safe.
- Enjoy the warmth generated from your homemade heater while keeping a safe distance.
Tips for Efficiency
- Consider using a terracotta pot with a larger diameter for a more robust heating effect.
- Position the heater in a corner or small room to maximize heat retention.
- Keep flammable materials away from the setup for safety.
Enhancing Your Heater
If you want to get creative, try painting the outside of the pots or adding decorative stones around the base. Just ensure that any paint used is non-toxic and heat-resistant.
Common Mistakes to Avoid
Even a simple project can have its pitfalls. Here are some mistakes to steer clear of when creating your mini heater.
- Ignoring safety precautions: Always ensure that the heater is placed on a fire-resistant surface and away from flammable items.
- Using non-heat-resistant materials: Avoid using plastic or other flammable materials for the heater’s structure.
- Overloading with candles: Too many tea lights can create excessive heat, leading to a risk of fire.
- Leaving unattended: Always monitor the heater while it’s lit; never leave it alone.
- Not having a plan for ventilation: Ensure that the space has adequate airflow to avoid suffocation hazards.
FAQ
Can I use different types of candles?
Yes, you can use other small candles, but tea lights are usually the safest and most effective option. Just ensure they fit comfortably under the pots.
How much heat can I expect from this mini heater?
This mini heater can warm a small area effectively, but it’s best used in enclosed spaces for optimal results.
Is it safe to leave the heater on overnight?
It’s not recommended to leave the heater unattended, especially while you sleep. Always prioritize safety by turning it off before going to bed.
Conclusion
Creating a no-electricity mini heater at home is a straightforward project that can make your winter days more comfortable. Always prioritize safety when working with flames. What creative alternatives do you have for staying warm during the colder months? Share your thoughts in the comments!