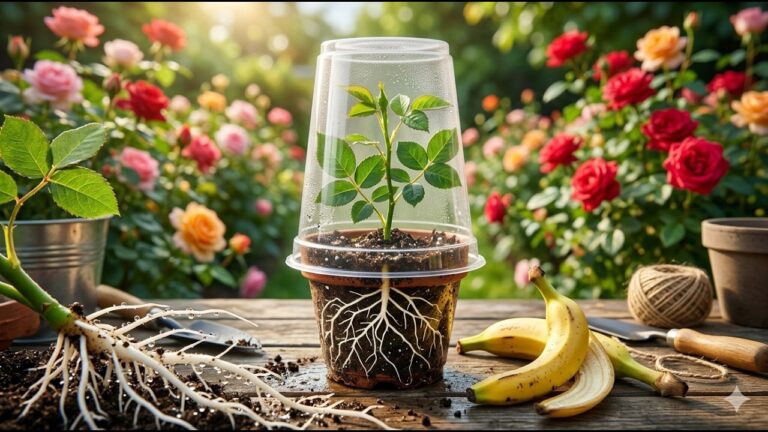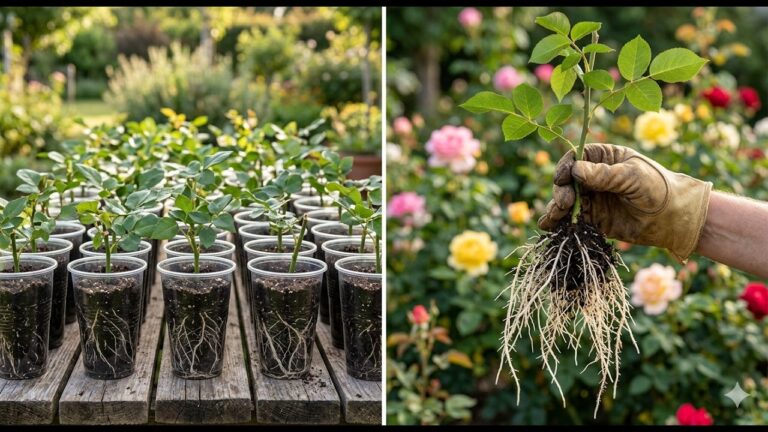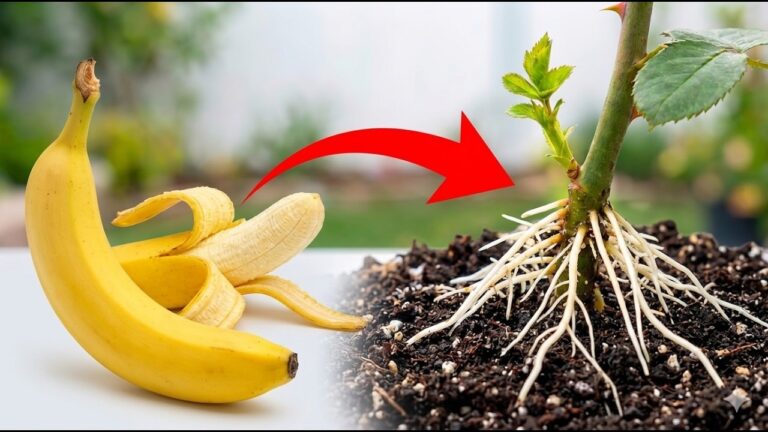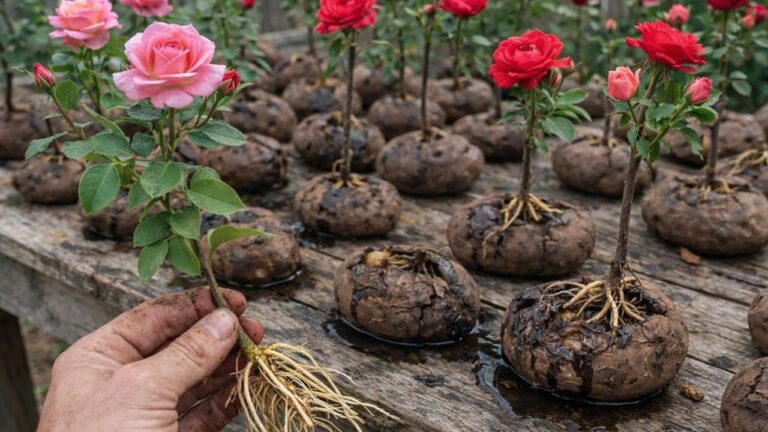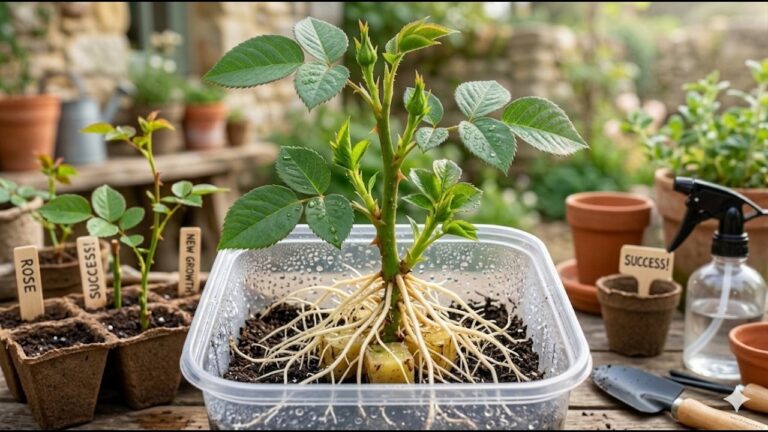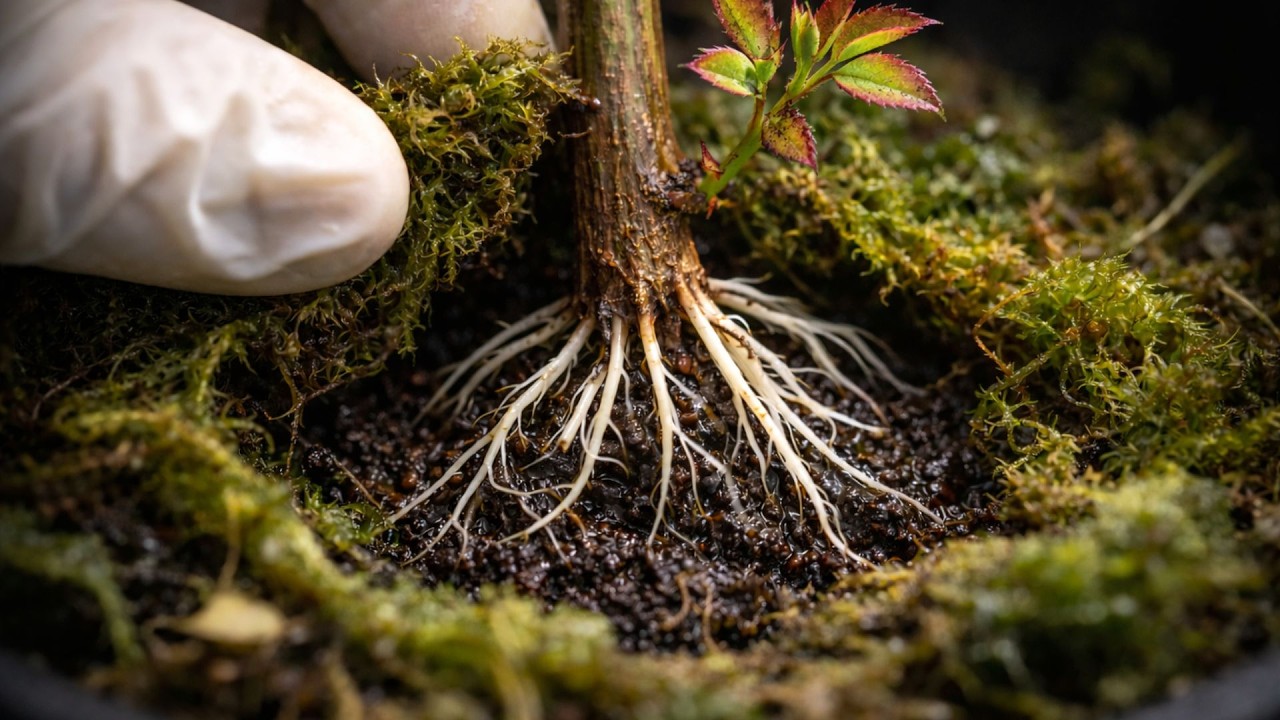
21 Days to Rooting Rose Cuttings Without Soil – Discover the Secrets!
21 Days to Rooting Rose Cuttings Without Soil: Your Ultimate Guide
- Introduction
- Why Root Rose Cuttings?
- Materials Needed
- Step-by-Step Guide
- Common Mistakes to Avoid
- FAQ
- Conclusion
Introduction
Have you ever admired a friend’s beautiful rose garden and wished you could replicate it at home? Starting your own garden can feel daunting, especially when considering the different techniques involved. One approach that can yield stunning results without the need for traditional soil is rooting rose cuttings without soil. This method not only simplifies the process but also offers a chance to grow vibrant roses. Let’s dive into this fascinating journey together!
Why Root Rose Cuttings?
Rooting rose cuttings is an effective way to propagate roses, allowing you to grow new plants from existing ones. Here are some compelling reasons to try this method:
- Cost-effective: Instead of purchasing new plants, you can provide a beautiful garden at a fraction of the cost.
- Variety: This method allows you to multiply your favorite roses or experiment with different types.
- Easy Maintenance: Growing roses without soil reduces the risk of pests and diseases that often thrive in soil.
Materials Needed
To successfully root your rose cuttings without soil, gather the following materials:
- Fresh rose cuttings: Choose healthy stems about 6-8 inches long from a mature plant.
- Clean jar or container: A clear glass jar will help you monitor root development.
- Water: Use filtered or distilled water for the best results.
- Rooting hormone (optional): Improves the chances of successful rooting.
Step-by-Step Guide
Follow these practical steps to root your rose cuttings successfully:
1. Preparing Your Cuttings
- Choose the right time: Early summer is ideal when roses are actively growing.
- Cut the stems: Make a diagonal cut just below a leaf node to optimize water absorption.
- Remove excess leaves: Trim the lower leaves to prevent rotting in the water.
- Dip in rooting hormone: If using, lightly coat the cut end of the stem.
2. Placing Cuttings in Water
- Fill your jar: Pour in enough water to fully submerge the cuttings, but not so much that it touches the leaves.
- Insert the cuttings: Place them in the jar, ensuring the cut ends are submerged.
3. Caring for Your Cuttings
- Positioning: Place the jar in a warm, indirect light location, avoiding direct sunlight.
- Changing the water: Refresh the water weekly to prevent stagnation.
- Patience: Roots may take up to 21 days to form, so remain attentive but patient.
Common Mistakes to Avoid
While rooting rose cuttings can be straightforward, some common pitfalls can hinder your success:
- Using woody cuttings: Select green, flexible stems for optimal rooting.
- Overcrowding the jar: Ensure adequate space between cuttings to promote healthy growth.
- Not replacing the water: Regularly change the water to maintain cleanliness and oxygen levels.
- Exposing to direct sunlight: Too much sun can increase temperatures and dry out cuttings.
FAQ
How long does it take for rose cuttings to root? It typically takes about 21 days for rose cuttings to develop roots in water.
Can I use tap water for rooting? It’s best to use filtered or distilled water to avoid chemicals that may hinder root growth.
What should I do once the roots develop? Once you observe strong roots, gradually acclimate the cuttings to soil before transferring them into pots.
Conclusion
Rooting your rose cuttings without soil can be an enjoyable and rewarding project, providing you with beautiful blooms for your garden. Take the time to care for them, and soon enough, you’ll have thriving plants. What variety of roses are you most excited to try propagating? Your comments are welcome below!