10 Creative DIY Basket Ideas Using Cardboard and Macrame Rope
10 Creative DIY Basket Ideas with Cardboard and Macrame Rope
- Introduction
- Popular DIY Basket Ideas
- Materials and Tools Needed
- Step-by-Step Creation Process
- Common Mistakes to Avoid
- FAQ
- Conclusion
Introduction
Have you ever found yourself with an abundance of cardboard boxes and leftover macrame rope? These everyday items can quickly clutter your living space. Instead of tossing them away, why not transform them into beautiful and functional baskets? By repurposing these materials, you can reduce waste while adding a personal touch to your home décor. Stick around to discover inspiring DIY basket ideas that fit any style.
Popular DIY Basket Ideas
Creating baskets can be a delightful and fulfilling project. Here are some popular ideas to spark your creativity:
- Cardboard storage basket: Perfect for organizing toys or magazines.
- Macrame rope planter: An attractive way to display your indoor plants.
- Wall-mounted baskets: Efficient for saving floor space while adding visual interest.
- Gift baskets: Ideal for special occasions and personal gifts.
- Basket for essentials: Keep remote controls or everyday items at hand.
Materials and Tools Needed
Before you start, gather the following materials:
- Cardboard boxes
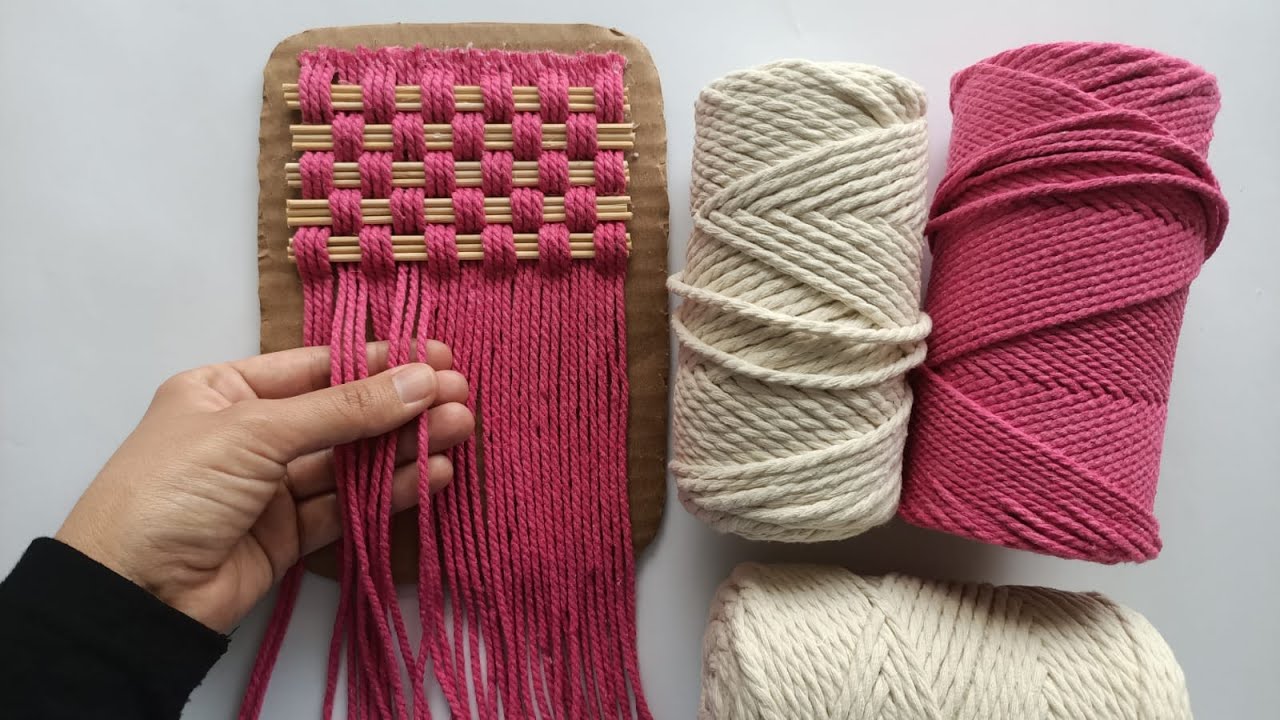
- Macrame rope
- Scissors
- Glue or double-sided tape
- Ruler and pencil
Having the right tools will make your project smoother and more enjoyable. You may want to set up your workspace to ensure everything is organized and accessible.
Step-by-Step Creation Process
Let’s delve into the basic steps for creating your DIY basket:
1. Prepare the Cardboard Base
- Cut: Begin by cutting the cardboard into the desired shape and size for your basket base.
- Fold: Fold the edges upwards to form the sides of the basket.
- Secure: Use glue or tape to hold the edges in place, ensuring a sturdy base.
2. Wrap with Macrame Rope
- Start: Attach the end of the macrame rope at the base of the basket.
- Wrap: Begin wrapping the rope around the cardboard, working your way up the sides.
- Finish: Cut the rope when you reach the top, securing the twine with glue for stability.
3. Personalize Your Basket
Consider adding embellishments to make your basket unique:
- Paint: A splash of color to the cardboard base can brighten up the design.
- Labels: Use labels to indicate what goes inside each basket.
- Decorative elements: Add beads or charms to the macrame for a bohemian touch.
Common Mistakes to Avoid
When embarking on your DIY basket project, keep these common pitfalls in mind:
- Choosing the wrong type of cardboard can lead to a weak structure.
- Not securing the macrame rope properly may cause it to unravel.
- Skipping the personalization step can make the basket feel generic.
- Overloading your basket can compromise its integrity.
FAQ
What can I use instead of macrame rope? You can use jute twine, yarn, or any sturdy string for a different look.
How long does it take to make a DIY basket? Depending on your experience, it typically takes 1 to 3 hours.
Can I wash my cardboard basket? It’s best to keep these baskets dry, as moisture can weaken the cardboard.
Conclusion
Transforming your cardboard and macrame rope into lovely baskets is not just rewarding but also an excellent way to declutter. By engaging in this creative process, you can create unique storage solutions that reflect your personality. What will you store in your new handmade basket?