5 Easy Steps to Propagate Roses and Grow Your Own Beautiful Garden 🌹
5 Easy Steps to Propagate Roses and Grow Your Own Beautiful Garden
Introduction
Picture stepping into your own backyard and being greeted by vibrant, blooming roses, swaying gently in the breeze. You dream of cultivating a garden that bursts with color and fragrance, but starting from scratch can seem daunting. The thought of purchasing mature plants can quickly deter your enthusiasm. But what if you could cultivate your own roses from cuttings? This guide will uncover how to propagate roses efficiently so you can enjoy a stunning garden filled with your favorite blooms.
Required Materials
Before you start your journey into rose propagation, gather the following materials to set yourself up for success:
- Healthy rose cuttings from an existing plant
- Potting soil that drains well
- Small pots or containers to hold the cuttings
- A clear plastic bag or plastic wrap
- Water for keeping the cuttings hydrated
If you want your cuttings to thrive, choose cuttings that are around 6 to 8 inches long and feature several nodes. Consider opting for early morning or late afternoon when the plants are well-hydrated for the best results.
Propagation Steps
Follow these straightforward steps to successfully propagate your roses:
- Prepare the cuttings: Make a clean cut below a node at a 45-degree angle. Remove any leaves from the lower half of the cutting, leaving just a few at the top.
- Rooting hormone: Dip the cut end in rooting hormone to promote root development. This step isn’t mandatory, but it’s beneficial for enhancing growth.
- Plant the cuttings: Fill your pot with the well-draining potting soil, creating small holes for each cutting. Place them carefully in the holes and gently pack the soil around them.
- Water the cuttings: Lightly water the soil until it’s damp but not waterlogged. Ensure your cuttings have enough moisture as they adjust to their new environment.
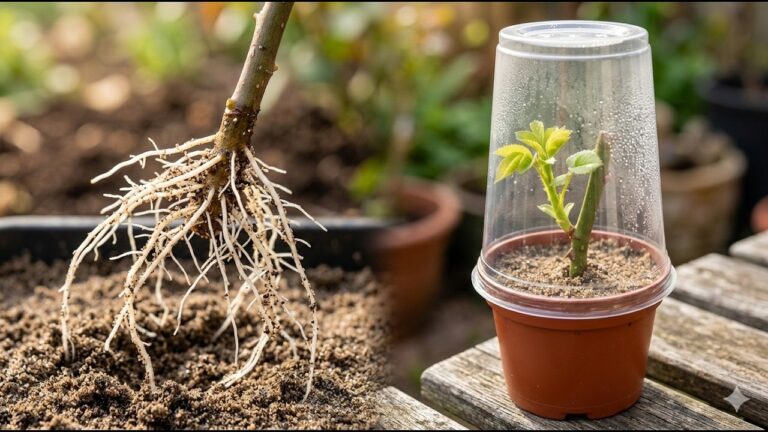
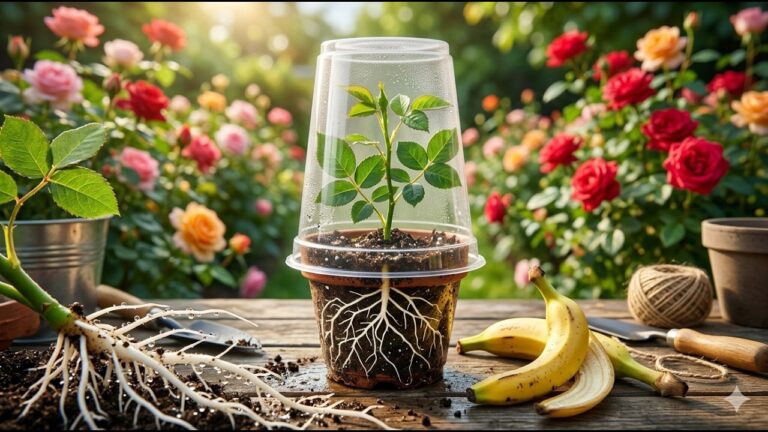
- Create a mini greenhouse: Cover the pots with a clear plastic bag or wrap to retain humidity, and place them in a bright location away from direct sunlight.
Keep an eye on the cuttings; roots should begin to form within a few weeks. When you notice new growth, it’s a sign that they are ready to be transplanted into your garden.
Common Mistakes
While propagating roses can be fulfilling, it’s essential to be aware of common pitfalls:
- Using unhealthy cuttings: Always select cuttings from healthy plants to avoid disease.
- Overwatering: Providing too much water can lead to rot. Ensure the soil is moist but not soggy.
- Improper lighting: Direct sunlight can scorch young cuttings, while too little light inhibits growth. A bright, indirect light source is ideal.
- Neglecting humidity: Failing to cover the cuttings can leave them too dry; maintaining humidity is crucial for their success.
FAQ
How long does it take for rose cuttings to root? Typically, rose cuttings take about 2 to 8 weeks to root, depending on the conditions and care provided.
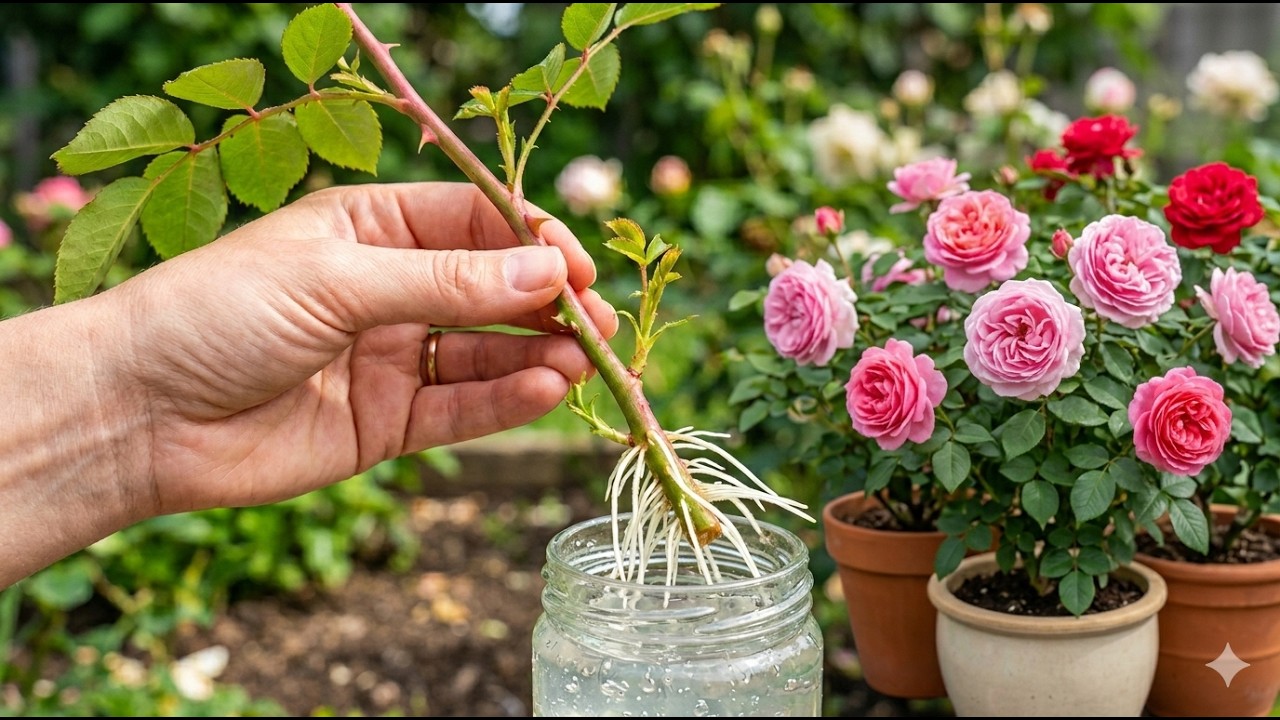
Can I propagate roses in water? Yes, you can place rose cuttings in water, but they may take longer to root. Ensure to use clean water and change it regularly.
What is the best time of year to propagate roses? The best time to propagate roses is during the early spring or late summer when the temperatures are milder.
Conclusion
By following these steps, you’ll be on your way to propagating beautiful roses that will enhance your garden for years to come. Have you tried propagating roses before, or are you considering it for your garden? Share your thoughts and experiences in the comments below!