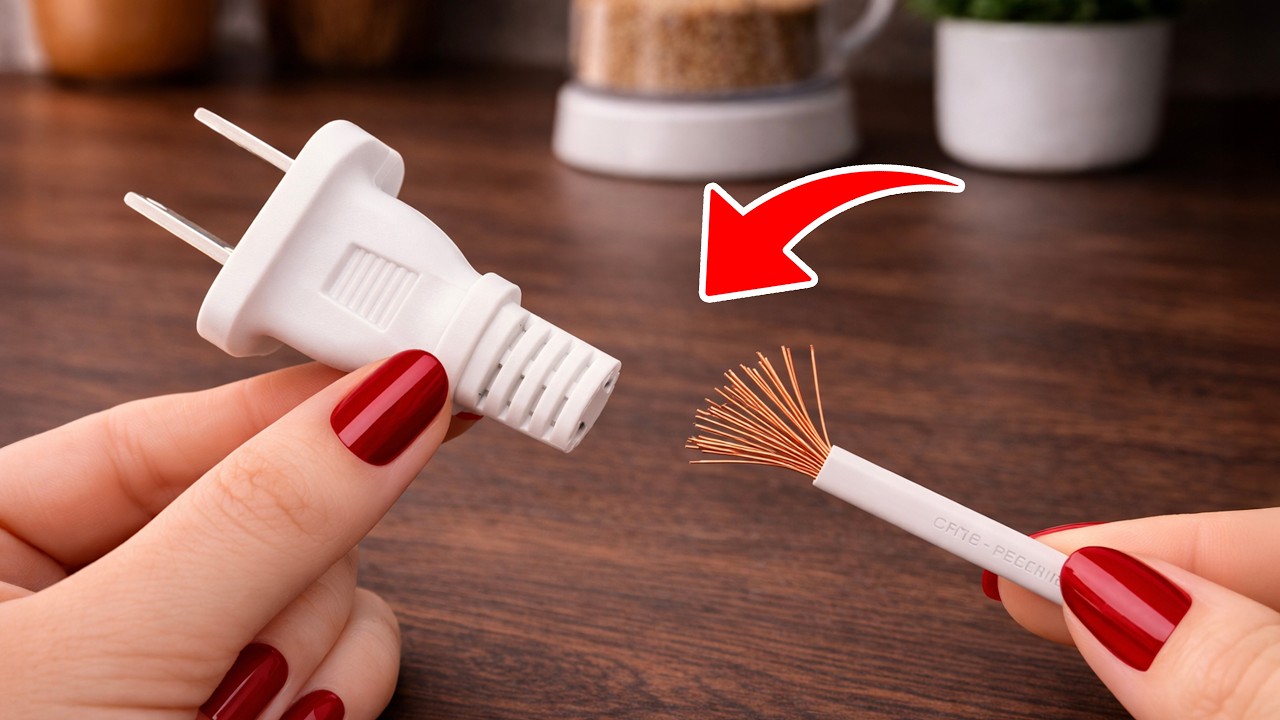
6 Simple Steps to Safely Fix a Broken Plug at Home
Simple Steps to Safely Fix a Broken Plug at Home
Introduction
You’ve just realized that your favorite device isn’t working because of a broken plug. This can leave you feeling frustrated, especially if it’s something you rely on daily. Not only do you want to fix it quickly, but you also want to ensure that it’s safe to use afterward. With the right guidance, you can handle this task confidently and restore your device’s functionality. Continue reading to learn essential steps for fixing a broken plug securely.
Required Materials
Before you start fixing your broken plug, you’ll need to gather some materials to ensure a smooth process. Here’s what you should have on hand:
- Replacement plug: Choose a plug compatible with your device.
- Screwdriver set: Ensure you have the right size for the screws on the plug.
- Wire stripper: This will help you prepare the wires for reconnection.
- Electrical tape: For securing the connections safely.
- Multimeter: Optional but useful to check the electric current.
Step-by-Step Guide
Now that you have your materials ready, let’s dive into the process of fixing a broken plug. Follow these steps to ensure a safe and effective repair:
1. Disconnect Power
Before you begin working, make sure to unplug the device from the socket. This is a crucial first step to avoid any electrical hazards.
2. Open the Broken Plug
- Unscrew the screws holding the plug’s casing.
- Carefully separate the two halves of the plug to access the internal wiring.
3. Examine the Internal Wiring
Look for any broken or frayed wires inside the plug. If you see damaged wires, it’s best to cut them back using your wire stripper, leaving enough length for a secure connection.
4. Connect the New Plug
- Attach the wires to the corresponding terminals in the new plug. Typically, there are three wires: live, neutral, and ground.
- Secure each connection tightly and ensure there are no exposed wires.
5. Reassemble the Plug
Once all wires are properly connected, carefully put the casing back together. Ensure that the screws are tight, and that everything is secure before proceeding.
6. Test Your Repair
- Plug the device back into the socket.
- Use a multimeter if available, to check that the current is flowing correctly.
Ensure everything is functioning properly before using your device regularly again.
Common Mistakes
When fixing a broken plug, there are several common mistakes to avoid for your safety and the effectiveness of the repair. Here are a few to keep in mind:
- Not disconnecting power before starting the repair, which can lead to electrical shock.
- Using the wrong type of plug or terminal can result in malfunction or danger.
- Failing to check for frayed wires adequately may leave you with a repeat issue.
- Overtightening the screws can crack the plug casing.
- Neglecting to secure the connections can lead to further electrical issues down the road.
FAQs
What should I do if I feel uncomfortable fixing the plug myself?
If you’re unsure about your ability to safely fix a broken plug, consider seeking help from a qualified electrician or a handy friend.
How can I tell if my plug is irreparable?
If you notice significant damage to the plug or wiring that compromises safety, it’s best to replace the entire unit rather than attempting a repair.
Are there safety precautions I should follow when working with electricity?
Always work with tools rated for electrical work, ensure you disconnect power, and avoid working in wet conditions to prevent electric shock.
Conclusion
Fixing a broken plug at home can be a straightforward task if you follow the right steps. By gathering the necessary materials and taking precautions, you can easily restore functionality to your device. Have you ever fixed a plug before? Share your experiences in the comments!