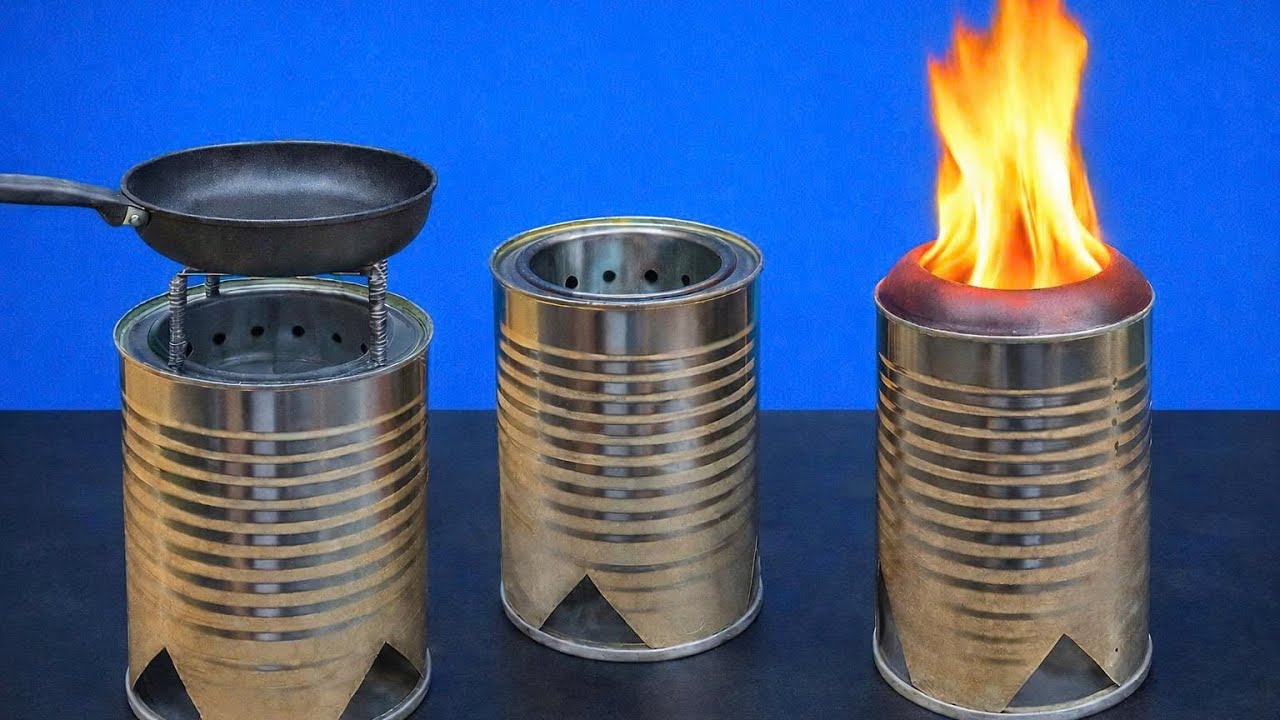
7 Simple Steps to Make a DIY Stove from Old Tin Cans – No Gas Needed!
Creating a DIY Stove from Old Tin Cans: A Simple Guide
Have you ever found yourself in need of a stove while camping or during a power outage, but lacked the necessary equipment? It’s a frustrating situation many people experience. Fortunately, you can create your own stove using simple materials that may already be sitting in your recycling bin. This guide will walk you through the process of building your very own DIY stove from old tin cans, ensuring you can cook wherever you are.
Required Materials
To start creating your DIY stove, gather the following materials:
- Old tin cans (like soup or soda cans)
- Scissors or a can opener for cutting the cans
- Sandpaper for smoothing edges
- A small piece of wire for the pot holder
- Fuel source (such as wood chips or small sticks)
Having everything ready will streamline the process and make it easier to dive into the project.
Step-by-Step Instructions
Creating your DIY stove involves a few straightforward steps. Follow this guide to build your very own functional stove:
1. Prepare the Tin Cans
Start by cleaning the tin cans thoroughly to remove any food residue. This is crucial for safe usage.
2. Cut the Cans
- Using scissors or a can opener, cut one of the cans in half. This will serve as the main body of your stove.
- Cut small holes around the bottom edge to allow airflow, which is essential for proper combustion.
3. Create the Top Section
Take the second can and cut a circular section about one-third of the way down from the top. Ensure the opening is large enough to fit your pot snugly.
4. Assemble the Stove
Fit the top section into the bottom section with the holes facing down. Use sandpaper to smooth any sharp edges to ensure safety during use.
5. Add the Pot Holder
Attach a small piece of wire across the top of the stove, creating a holder for your cooking pot. Make sure it’s secure and able to withstand the weight.
6. Prepare the Fuel
Gather your chosen fuel source, such as wood chips. Place them inside the stove before lighting it.
7. Light It Up!
Carefully light your fuel source. Enjoy the warmth and functionality of your homemade stove.
Common Mistakes to Avoid
When building your DIY stove, be mindful of these common pitfalls:
- Using unclean cans: Always ensure the cans are clean to avoid harmful fumes.
- Cutting unevenly: Make sure your cuts are straight and uniform to ensure the stove fits together properly.
- Neglecting safety: Always handle sharp tools carefully and smooth any jagged edges afterward.
FAQ
Can I use any type of tin can? Yes, but cans made from materials like aluminum are often lighter and easier to work with.
What kind of fuel is best for my DIY stove? Small sticks, dry leaves, or wood chips work well as fuel sources.
How long will my DIY stove last? The stove can be used multiple times, but regular wear and tear will impact its lifespan.
Conclusion
Building a DIY stove from old tin cans is an excellent way to repurpose materials while preparing for unexpected cooking needs. With just a few simple steps, you’ll have a functional stove ready for your next outdoor adventure or home emergency. Have you tried making a DIY stove before? Share your experiences in the comments!