Root 7 Rose Cuttings Fast with This Simple Trick! 🌹
Fast Rooting for Rose Cuttings: A Simple Guide
- Introduction
- Setting the Stage for Rose Cuttings
- Preparing Your Cuttings
- Effective Rooting Methods
- Common Mistakes to Avoid
- FAQ
- Conclusion
Introduction
Starting a rose garden is a delightful journey, yet many find that their cuttings struggle to take root. It can be discouraging to watch your beloved plants fail to thrive, especially when you envision a vibrant blooming garden. Fortunately, with the right techniques and a little patience, you can transform those cuttings into thriving new plants. Let’s explore proven methods to encourage your rose cuttings to root successfully.
Setting the Stage for Rose Cuttings
Before diving into the rooting process, preparing the environment is crucial.
1. Choose the Right Time of Year
Spring and early summer are ideal seasons for taking rose cuttings. During this time, plants are actively growing, which increases your chances of success.
2. Gather Necessary Supplies
To set yourself up for success, make sure you have:
- Sharp pruning shears
- Clean potting soil or seed starting mix
- Small pots or containers
- Rooting hormone (optional)
- Clear plastic bag or a humid dome
3. Select Healthy Plant Material
Choose healthy and strong stems from established roses. Look for stems that are 6 to 8 inches long with several leaf nodes. These nodes are potential sites for roots to develop.
Preparing Your Cuttings
Correct preparation of your cuttings is essential for successful rooting.
1. Take the Cuttings
Make a clean cut on the stem, just below a node. This cut should be at a 45-degree angle to maximize surface area for root growth.
2. Remove Lower Leaves
Strip the leaves from the lower part of the cutting, leaving just a couple of leaves at the top. This helps reduce moisture loss while also directing energy to root development.
3. Apply Rooting Hormone
An optional but helpful step is to dip the cut end of the cutting into rooting hormone, which can enhance root formation.
Effective Rooting Methods
There are various methods to help your cuttings take root.
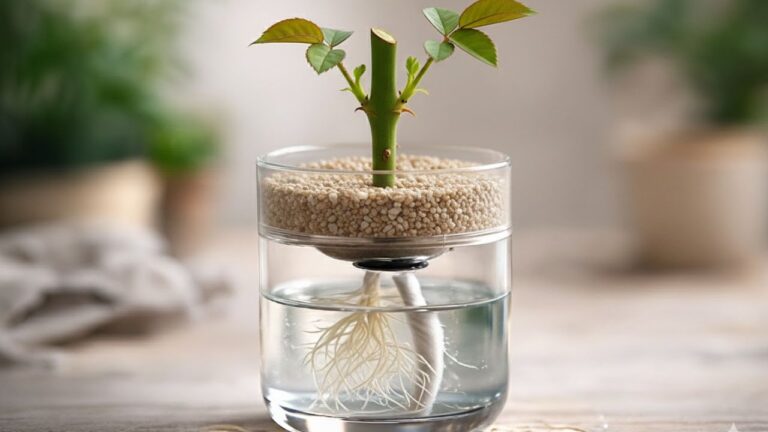
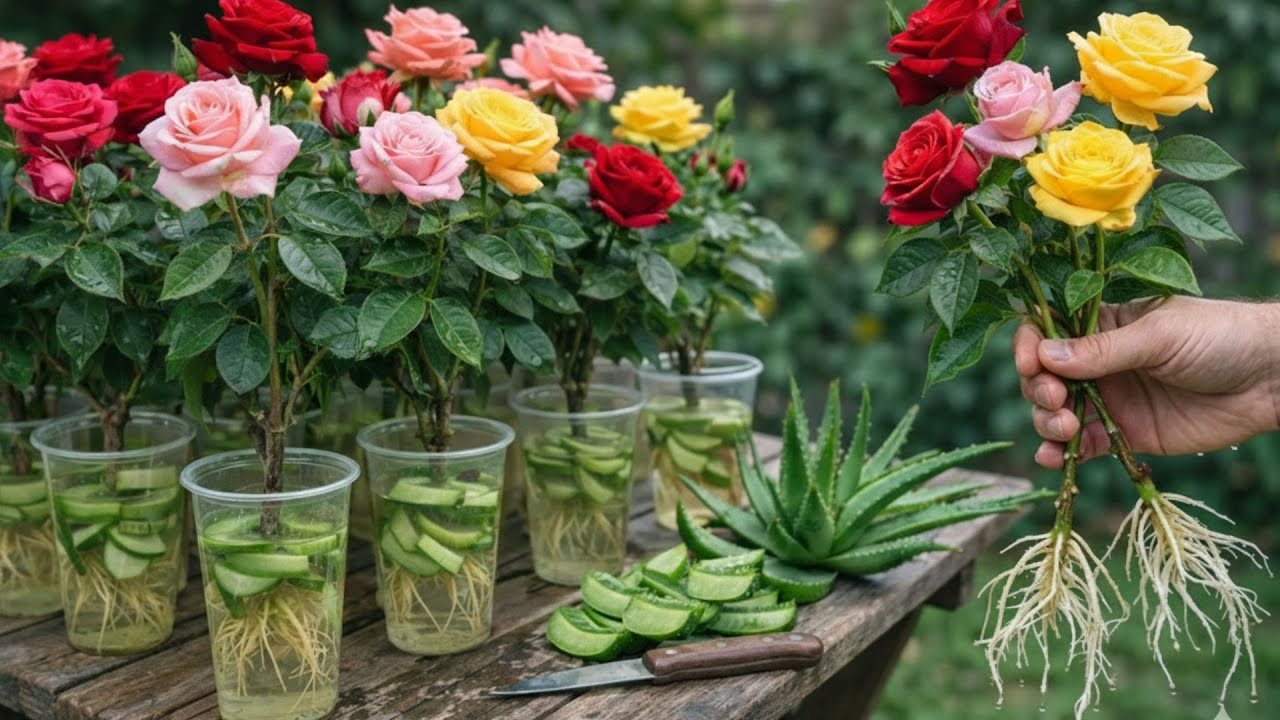
1. Water Propagation
- Place your cuttings in a glass of water, ensuring the nodes are submerged.
- Change the water every few days to keep it fresh.
- Once roots form, transplant them into soil.
2. Soil Propagation
- Fill a pot with moist potting soil.
- Insert the cuttings, burying them a few inches deep.
- Cover with a clear plastic bag or a humidity dome to create a greenhouse effect.
- Keep the soil consistently moist.
3. Indoor Greenhouse Setup
Consider creating a small indoor greenhouse. Use a clear container or a mini greenhouse kit for enhanced humidity and warmth, which are conducive to root formation.
Common Mistakes to Avoid
To ensure success, be mindful of these common pitfalls:
- Using old or unhealthy cuttings: This greatly reduces your chances of rooting.
- Overwatering: Too much moisture can lead to rot. Keep the soil damp but not soggy.
- Neglecting light conditions: Position cuttings in a well-lit area but avoid direct sunlight to prevent overheating.
- Ignoring temperature: Roses prefer a warm and stable environment for optimal growth.
FAQ
How long does it take for rose cuttings to root?
Typically, rose cuttings take about 2 to 8 weeks to root, depending on the variety and conditions provided.
Can I propagate roses from any type of cutting?
It’s best to use hardwood cuttings taken from healthy plants, ideally during the growing season.
What should I do if my cuttings do not root?
If your cuttings fail to root, reassess your cutting technique, environment, and watering practices to identify potential issues.
Conclusion
With proper techniques and attention to detail, rooting rose cuttings can become an enjoyable part of gardening. Focus on the preparation and environment to ensure your success. What tips have you found helpful in rooting plants? Share your experience in the comments!