5 Simple Steps to Root Rose Cuttings Fast and Easily
Rooting Rose Cuttings: A Simple Guide for Your Garden
Introduction
Have you ever admired a neighbor’s flourishing rose garden and wished you could cultivate those beautiful blooms in your own backyard? Rooting your own rose cuttings can seem challenging, especially if you aren’t sure where to start. Whether you’re looking to expand your garden’s color palette or preserve a beloved variety, it’s entirely possible to propagate roses from cuttings. This guide will provide you with all the necessary steps and tips to make the process smooth and successful.
Required Materials
Before you start your journey into rose propagation, gather the following materials:
- Healthy rose cuttings – Choose stems that are 6-8 inches long with a few sets of leaves.
- Sharp pruners – Ensure you have a clean cut to increase success rates.
- Rooting hormone (optional) – This can help promote faster root growth.
- Potting soil – Choose a well-draining mix to create an ideal environment.
- Pots or containers – Make sure they have drainage holes.
- Plastic bag or plastic wrap – This helps retain humidity around your cuttings.
Step-by-Step Guide
Now that you have everything you need, follow these simple steps to successfully root your rose cuttings:
1. Prepare the Cuttings
- Choose the right time – Late spring to early summer is ideal for most varieties.
- Cut the stems at a 45-degree angle just below a node (the bump where leaves grow). This maximizes the surface for root growth.
- Remove excess leaves – Trim down to two or three leaves to prevent moisture loss.
2. Use Rooting Hormone (Optional)
Dipping the cut end of the stem in rooting hormone can encourage faster development of roots. Here’s how:
- Simply dampen the cut end slightly.
- Dip it into the hormone powder, allowing any excess to fall off.
3. Plant the Cuttings
- Fill pots with the prepared potting soil, leaving about an inch from the top.
- Make holes in the soil with your finger or a stick, then insert each cutting into the holes.
- Firm the soil around the base of the cuttings to ensure they stand upright.
4. Create a Humid Environment
To facilitate rooting, you’ll need to maintain humidity around your cuttings:
- Cover the pots with a plastic bag or wrap to trap moisture.
- Ensure the plastic doesn’t touch the leaves, using sticks if needed.
5. Water and Wait
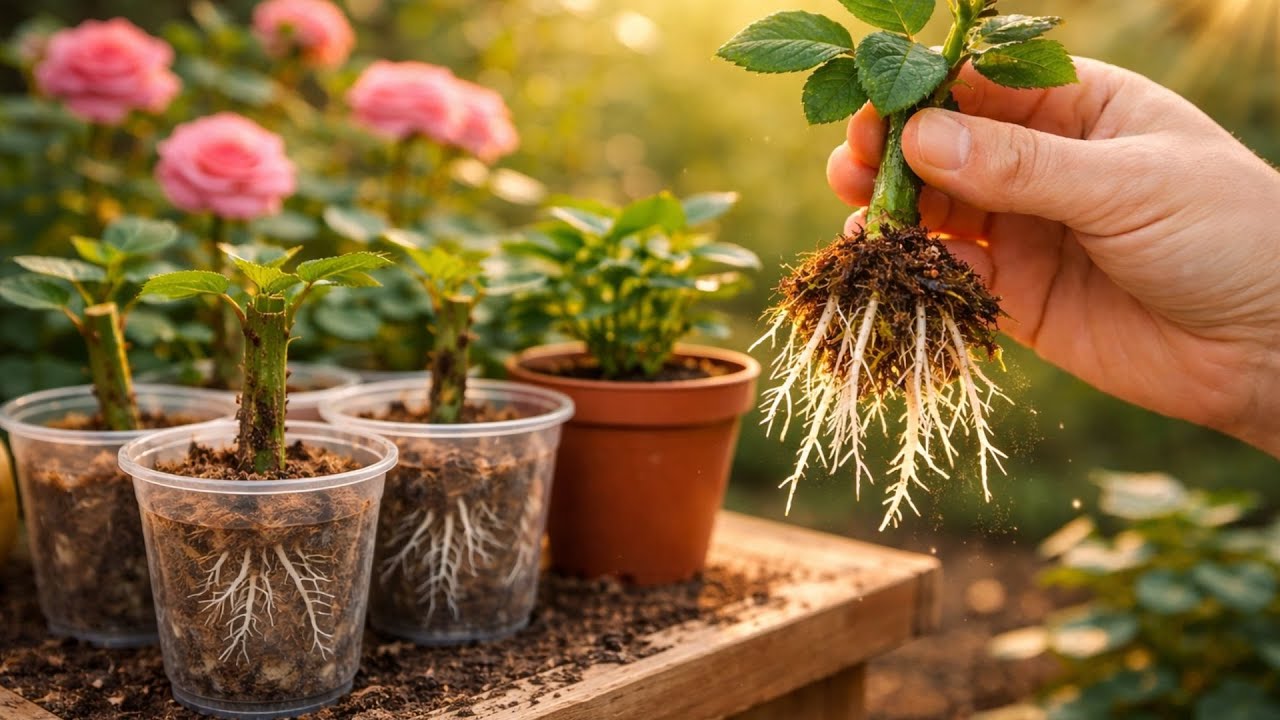
Keep the soil consistently moist, but not waterlogged. Check daily and mist lightly as needed. In a few weeks, your cuttings should start to develop roots.
Common Mistakes
While rooting rose cuttings can be straightforward, certain mistakes can hinder your success. Here are a few to watch for:
- Using old or sickly cuttings – This decreases your chance of successful rooting.
- Overwatering the cuttings – Ensure good drainage and avoid waterlogged soil.
- Not providing enough humidity – Insufficient moisture will dry out the cuttings before roots can form.
FAQ
Can I root rose cuttings in water?
Yes, you can, but rooting in soil generally yields better results as it mimics a natural environment better.
How long does it take for rose cuttings to root?
Typically, it takes about 4 to 6 weeks for rose cuttings to develop roots, depending on the variety.
Should I fertilize my cuttings?
It’s best to wait until the cuttings have established roots before applying fertilizer to avoid shock.
Conclusion
Rooting your own rose cuttings can bring a touch of beauty to your garden while saving money. By following these steps and avoiding common pitfalls, you’ll soon find yourself surrounded by the vibrant blooms you love. What rose varieties are you most excited to grow this season?