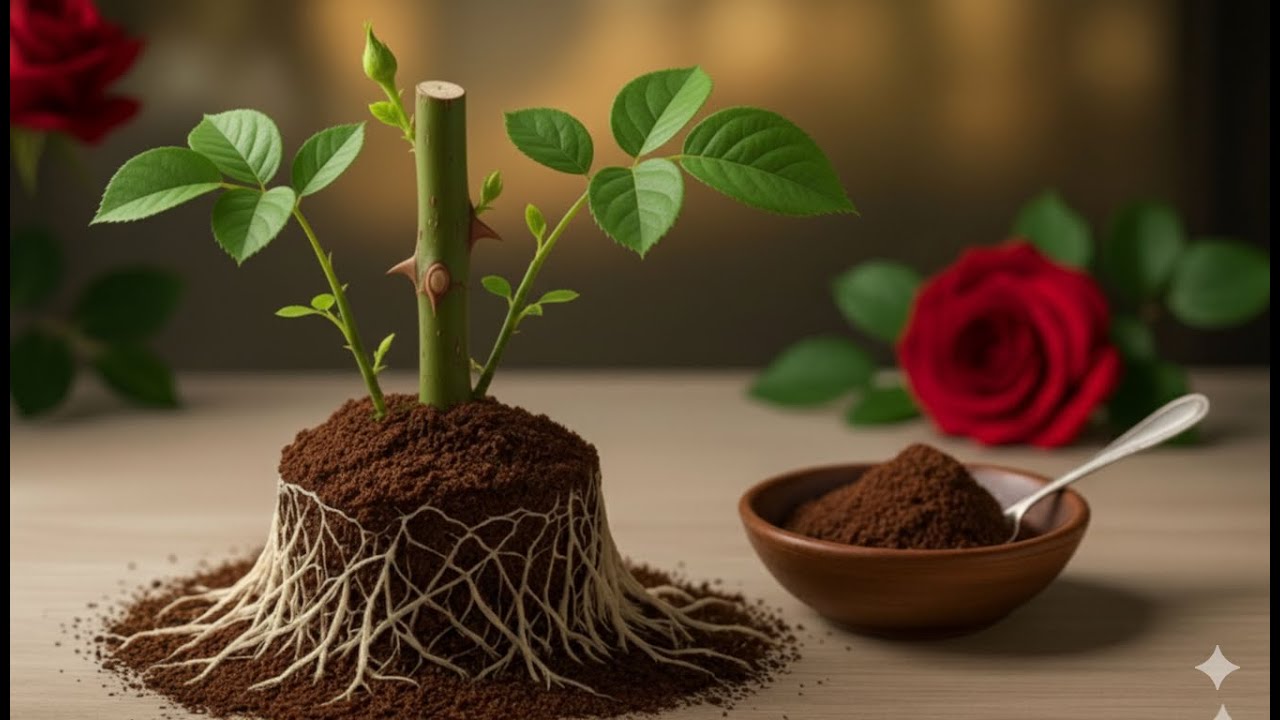
7 Steps to Root Rose Cuttings Overnight and Achieve Stunning Blooms
7 Simple Steps to Root Rose Cuttings and Enjoy Beautiful Blooms
Introduction
Transplanting beloved rose bush cuttings can sometimes feel daunting, especially when you’re eager to see them thrive in your garden. You may wonder if you will manage to root them correctly or if they’ll come back with vibrant blooms. The anticipation is hard to bear, and with so many methods out there, choosing the right approach can be overwhelming. However, with just a few simple steps, you can cultivate your own stunning roses from cuttings. Keep reading to uncover how to make this gardening task easier for yourself.
Required Materials
Before diving into the steps, it’s essential to gather everything you need to ensure a successful rooting process for your rose cuttings.
- Healthy rose cuttings: Choose firm, green stems about 6 inches long, preferably from a blooming rose variety.
- Potting soil: Use a well-draining mix to prevent waterlogging.
- Rooting hormone (optional): This can enhance cutting success rates.
- Small pots or containers: Ensure they have drainage holes for excess moisture.
- Plastic wrap or a plastic bag: To create humidity around the cuttings.
- Water: For ensuring the cuttings stay hydrated.
Step-by-Step Guide
This section outlines the crucial steps to successfully root rose cuttings, allowing you to nurture your plants into beautiful blooms.
1. Prepare Your Cuttings
- Choose healthy stems: Look for stems that are firm and healthy, ideally without any signs of disease.
- Cut the stems: Using sharp, sterile pruners, cut the stems just below a leaf node.
- Remove lower leaves: Strip away the leaves from the bottom half to enhance moisture absorption.
2. Apply Rooting Hormone
If you choose to use it, applying rooting hormone can significantly boost your success rate:
- Dip the cut end in rooting hormone: This will promote root growth.
- Tap off excess hormone to avoid clumping.
3. Plant the Cuttings
- Fill the pots with potting soil: Make sure to pack it lightly for better drainage.
- Insert the cuttings: Place them about 2 inches deep in the soil, ensuring the cut end is buried.
4. Water and Cover
- Water the cuttings lightly: Keep the soil moist but not soggy.
- Cover with plastic wrap: This will help maintain humidity levels around the cuttings.
5. Provide Ideal Conditions
Creating a conducive environment is key:
- Keep the pots in a warm, bright space but out of direct sunlight.
- Monitor moisture levels to ensure they don’t dry out.
6. Monitor Growth
Watch for signs of roots developing:
- Check for new leaves appearing, which signals healthy growth.
- Gently tug on the cuttings after a few weeks; resistance indicates root development.
7. Transplant When Ready
- Remove the plastic cover once roots are established.
- Transplant into larger pots or your garden once roots are about 2 inches long.
Common Mistakes to Avoid
While propagating rose cuttings is straightforward, avoiding some common pitfalls can enhance your success:
- Using unhealthy cuttings: Always select vigorous, disease-free stems for the best chances.
- Overwatering: Too much moisture can lead to rot; keep the soil moist but not saturated.
- Ignoring humidity needs: Covering cuttings helps retain the moisture they need to root properly.
- Forgetting about sunlight: Indirect light is crucial; too much sunlight can stress the cuttings.
- Rushing the transplanting process: Ensure that your cuttings have established roots before moving them.
FAQ
How long does it take for rose cuttings to root?
Typically, rose cuttings will take 4 to 6 weeks to root, depending on the variety and conditions.
Can I use regular garden soil for rooting?
It’s best to use a well-draining potting mix, as regular garden soil may retain too much moisture and lead to rotting.
What happens if my cuttings don’t root?
If your cuttings fail to root, it may be due to unhealthy stems or improper moisture levels. Ensure you’re following the best practices outlined.
Conclusion
Rooting rose cuttings can be a rewarding endeavor that enriches your garden with stunning blooms. By following these simple steps and keeping an eye on common mistakes, you’ll increase your chances of success. Have you tried propagating roses before? Share your experiences and tips in the comments below!