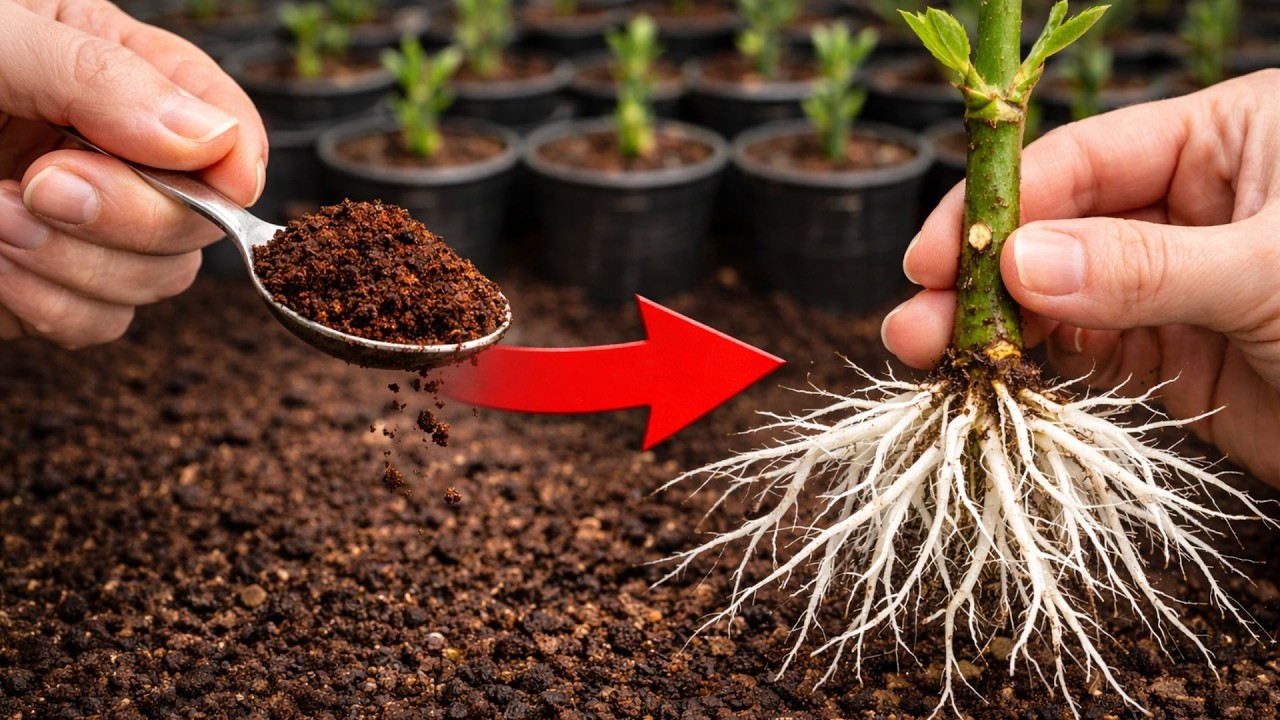
Root Rose Cuttings in 7 Days and Watch Them Bloom Naturally!
Root Rose Cuttings in 7 Days and Watch Them Bloom Naturally!
- Introduction
- Benefits of Rooting Rose Cuttings
- Essential Materials
- Step-by-Step Guide
- Common Mistakes to Avoid
- FAQ
- Conclusion
Introduction
Have you ever admired a friend’s garden, filled with vibrant roses, and wished you could cultivate your own? The thought of turning a simple cutting into a beautiful blooming rose can feel daunting. Understanding the right techniques for nurturing cuttings can make all the difference. By the end of this guide, you’ll gain the confidence needed to start your journey with rose cuttings and watch them flourish in your home. Let’s dive in!
Benefits of Rooting Rose Cuttings
Rooting your rose cuttings can offer several enriching advantages. Here are some key benefits:
- Cost-effective: Propagating your roses from cuttings saves money compared to purchasing new plants.
- Preserving Favorites: You can replicate your favorite varieties, ensuring you have blooms you love in your garden.
- Satisfaction: Successfully rooting cuttings provides a sense of accomplishment and connection to nature.
Essential Materials
Before you begin rooting your rose cuttings, gather the following materials:
- Healthy Rose Cuttings: Select stems that are about 6-8 inches long with several leaves.
- Potting Soil: A well-draining soil mix will support healthy root development.
- Containers: Small pots or containers with drainage holes work best.
- Water: Fresh water is essential for keeping the cuttings moist.
- Plastic Bag or Dome: This helps maintain humidity for the cuttings.
Step-by-Step Guide
Follow this comprehensive guide to successfully root your rose cuttings in just a week:
1. Prepare the Cuttings
- Choose: Select healthy, disease-free stems from your rose plant.
- Trim: Make a clean cut just below a node, ensuring the cutting is 6-8 inches long.
- Remove: Trim excess leaves, keeping only a few at the top to minimize water loss.
2. Set Up Your Containers
- Fill: Add potting soil to your containers, leaving some space at the top.
- Water: Moisten the soil before inserting the cuttings to help them settle.
3. Plant the Cuttings
- Poke: Make a hole in the soil with a pencil or your finger.
- Insert: Place the cuttings in the holes, ensuring they are deep enough for stability.
- Press: Gently press the soil around the cuttings to eliminate air pockets.
4. Create a Humid Environment
- Cover: Place a plastic bag or dome over the containers to trap moisture.
- Locate: Position in a warm, indirect sunlight area for optimal growth.
5. Care for Your Cuttings
- Water: Keep the soil moist, but not soggy, to encourage root growth.
- Check: Regularly lift the cover to allow fresh air circulation.
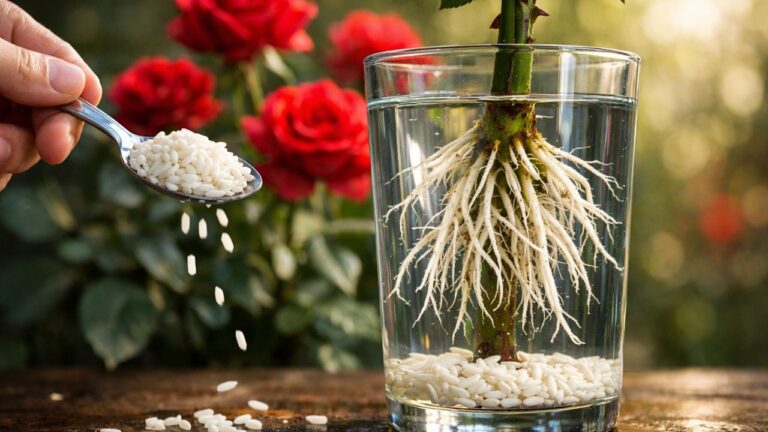
- Observe: Watch for signs of growth, typically within 7 days.
Common Mistakes to Avoid
While propagating rose cuttings seems straightforward, some common missteps can hinder your success:
- Using Dried Out Cuttings: Always ensure your cuttings are fresh and healthy before starting.
- Overwatering: Too much water can lead to root rot and other issues.
- Insufficient Light: Lack of sunlight can slow growth; ensure they receive indirect light.
- Skipping Humidity: A humid environment is crucial for root development; don’t skip covering your cuttings.
FAQ
How long does it take for rose cuttings to root? Typically, you can expect roots to develop within 7 to 14 days, depending on conditions.
Can I use any rose varieties for propagation? Yes, most rose varieties can be propagated through cuttings, but some may root easier than others.
What should I do if my cuttings do not root? If cuttings fail to root, reassess the conditions, including moisture, light, and health of the cuttings.
Conclusion
Rooting rose cuttings is a rewarding endeavor that enriches your garden with beautiful blooms. Following these steps carefully can significantly increase your chances of success. What rose varieties are you excited to propagate this season? Feel free to share your experiences in the comments!