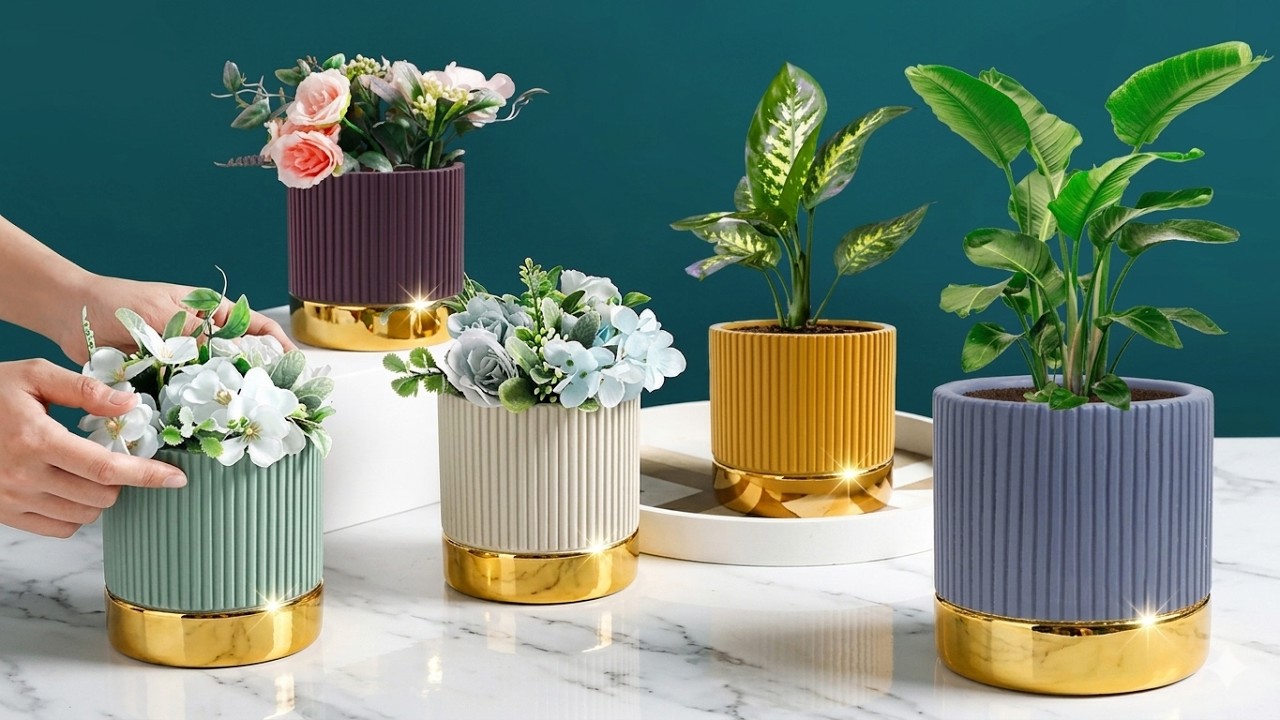
5 Simple Steps to Create Beautiful Cement Flower Vases for Your Home Decor
5 Simple Steps to Create Beautiful Cement Flower Vases for Your Home Decor
Introduction
Have you ever found yourself in need of unique home decor that reflects your personal style? Store-bought vases can often feel generic and uninspired. What if you could create something beautiful and one-of-a-kind right from home? With just a few materials and simple steps, you can transform everyday items into stunning cement flower vases that command attention in any space. Follow along to discover how to bring a touch of creativity into your home decor.
Required Materials
To embark on your journey of creating elegant cement flower vases, gather the following materials:
- Cement mix (available at any hardware store)
- Water to mix with the cement
- Plastic molds (you can use containers like plastic cups or small buckets)
- Cooking spray (to prevent cement from sticking)
- Mixing tools (like a stick or spoon)
- Sandpaper for smoothing edges once dried
Step-by-Step Instructions
Once you have your materials, it’s time to start crafting your cement flower vases. Here’s how:
1. Prepare the Molds
Before pouring in any cement, prepare your molds:
- Spray the inside of your molds with cooking spray.
- This layer will help ensure that the cement releases easily after drying.
2. Mix the Cement
Now it’s time to combine your ingredients:
- In a bucket, mix the cement and water according to the instructions on the bag.
- Stir until the mix has a smooth, pancake batter-like consistency — not too thick or too runny.
3. Pour into Molds
With your cement mix ready, follow these steps:
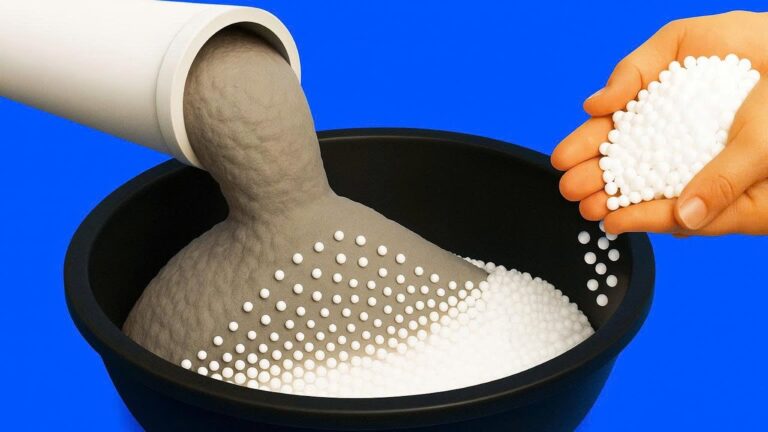
- Carefully pour the cement mixture into your prepared molds.
- Leave some space at the top for the cement to expand as it dries.
4. Create a Hole for Flowers
This step adds charm to your vases:
- Use a smaller mold or an object like a small cup to press into the center of the poured cement to create a hole for the flowers.
- Ensure it’s deep enough for flower stems but not too large that it compromises the vase’s structure.
5. Let It Dry
Patience is key here:
- Allow your cement vases to dry for at least 24 hours.
- Once fully dried, carefully remove them from the molds and smooth any rough edges using sandpaper.
Common Mistakes to Avoid
Even simple projects can have pitfalls. Here are common mistakes to steer clear of:
- Skipping mold preparation: If you don’t spray the molds, the cement may stick and cause damage during removal.
- Incorrect cement consistency: A mix that is too thick can lead to uneven drying, while one that’s too runny may not hold its shape.
- Not allowing enough drying time: Rushing the process may result in weak vases that could break easily.
FAQ
Can I use regular sand instead of cement?
Sand is not a substitute for cement, as it does not provide the same structural integrity needed for a vase.
What types of flowers work best in cement vases?
Consider using sturdy stemmed flowers like sunflowers or succulents, which thrive in a denser arrangement.
How do I decorate my cement vases?
You can paint your vases, wrap them in twine, or add embellishments like stones to enhance their visual appeal.
Conclusion
Creating your own cement flower vases allows you to infuse creativity into your home decor while providing a unique display for your favorite blooms. By avoiding common mistakes and following the simple steps outlined, you’ll find this project rewarding and enjoyable. What kind of flowers would you place in your newly crafted vases? Share your thoughts in the comments!