
Transform your old jars into stunning decor pieces… a simple DIY you’ll love!
Transform Your Old Jars into Stunning Decor Pieces… A Simple DIY You’ll Love!
Are you ready to breathe new life into your old jars? This guide will walk you through transforming ordinary jars into extraordinary decor pieces that reflect your unique style. With just a few materials and a sprinkle of creativity, you can embark on a fun DIY adventure that’s not only gratifying but also eco-friendly!
Materials You’ll Need
- Jar: Any size or shape you have lying around.
- Wooden tea stirrer
- Non-slip mat
- Jute twine
- Plastic bowl
- Various sized lids
- Paper tape
- Glass bowl
- Black spray paint
- Quick-drying glue
- Acrylic paint
- Cardboard
- Jute ring
Step-by-Step Guide
Step 1: Prepare Your Workspace
First, clear a space to work. Lay down a protective cover, as some materials can get messy. Gather all your supplies so everything is within reach.
Step 2: Create Stunning Lanterns
Start by taking a jar and painting it in your favorite color. Use Acrylic paint for a matte finish or black spray paint for a sleek look. Allow the paint to dry completely.
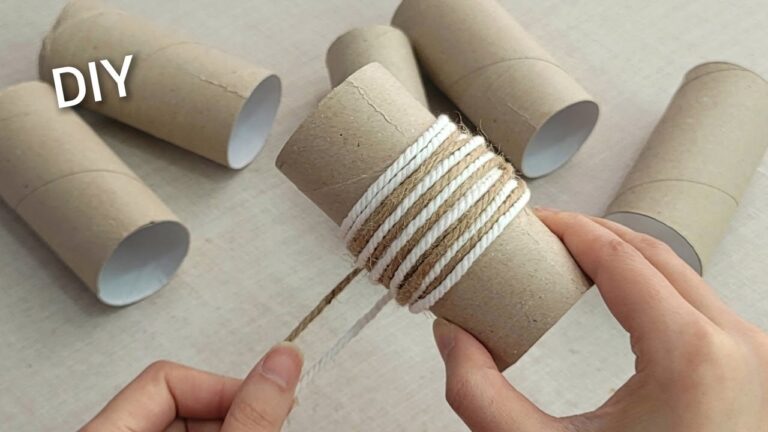
Once dry, take a wooden stirrer and attach it to the jar’s neck using strong glue. Then, carefully wrap jute twine around it for a rustic touch. Finish by placing a tea light candle inside.
Step 3: Design Elegant Centerpieces
For elegant centerpieces, apply paper tape in a beautiful pattern on the jar. Paint over the tape with your preferred color. Once dry, peel off the tape to reveal stunning designs. Pair with a glass bowl on top, and you have a unique decorative piece!
Step 4: Craft Charming Storage Solutions
Utilize smaller jars for organizing small items. Paint them in vibrant colors to add a pop of fun to your workspace. Use lids of varying sizes to create uniformity, and label them with a paper tag for a chic and functional storage solution.
Practical Tips for Success
- Let It Dry: Always allow sufficient drying time to prevent smudging.
- Mix and Match: Experiment with different colors and textures to suit your decor.
- Be Patient: Some projects may take time. Enjoy the process!
Common Mistakes to Avoid
- Rushing the Drying Process: This can lead to streaks or damage to your designs.
- Overloading the Jar: Ensure your designs don’t get too heavy; lighter is often more elegant.
- Ignoring Safety Precautions: Always use non-toxic materials, especially when working with children.
Conclusion: Get Started Today!
Now that you have the tools and inspiration to transform your old jars, it’s time to dive in and get creative! These DIY projects not only showcase your personal style but also contribute to a more sustainable lifestyle. Gather your materials and start crafting your stunning decor pieces today! Share your creations with us on Instagram @mini.atolye. Happy crafting!