Mastering Elderberry Cuttings: A Simple Guide to Propagation
“`html
Mastering Elderberry Cuttings: A Simple Guide to Propagation
Understanding how to harvest elderflowers and elderberries can greatly enhance your journey toward a self-sufficient lifestyle. While you can purchase elder bushes from local nurseries or online, propagating elderberry cuttings yourself is both simple and rewarding.
The Benefits of Elderberry
Elderberries are celebrated for their numerous health benefits, particularly during winter. Did you know you could easily propagate elderberry at home? This means you can enjoy the benefits right from your own backyard.
- Sambucus nigra and Sambucus canadensis are powerful immune boosters.
- These plants are known remedies for colds, flu, hay fever, and sinus infections.
- Gather just what you need each season, adjusting your harvest based on availability.
- Forage for elderberries to create your own syrups and tinctures.
Foraging for Elderberries
Foraging is a fantastic way to connect with nature while boosting your immune system. Elderflowers have a delightful aroma, so remember to harvest only what you need to leave enough for wildlife.
Elderberries typically ripen from late July to early September. Use them for syrups, jams, or baking. Note: raw or unripe elderberries can be harmful, so always cook them before consumption.
Elderberry Syrup and Tea
Many people grow elderberries primarily to make immune-boosting syrup. To prepare this, you’ll need:
- 1 pound of fresh or frozen elderberries
- Or, ½ pound of dried elderberries
Before the berries appear, enjoy the fragrant yellow flowers. Elderflowers are excellent in herbal teas and can also be fermented into a refreshing elderflower cordial.
It’s essential to remember that only the berries and flowers are edible; the leaves, bark, and branches are poisonous.
Taking Elderberry Cuttings: A Step-by-Step Guide
Propagation can be done using softwood or hardwood cuttings. Here, we will focus on softwood cuttings taken in the spring.
Step 1: Identify Elderberry Bushes
Look for elderberry bushes when they are either flowering or laden with berries. A mature bush typically grows between 5 to 12 feet tall and 6 to 12 feet wide.
Step 2: Cut and Gather Your Cuttings
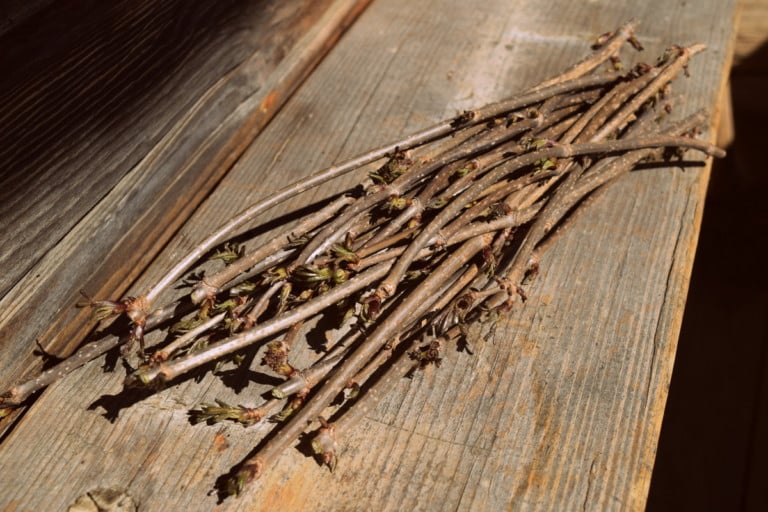
Use pruning shears to take cuttings at an angle just below a leaf bud. Each cutting should be 6-10 inches long and contain at least four buds. Remove the lower leaves but leave the top set.
Step 3: Prepare Your Cuttings
Soak the cuttings in water for 24 hours. You could also make a rooting hormone with willow branches.
Rooting in Water
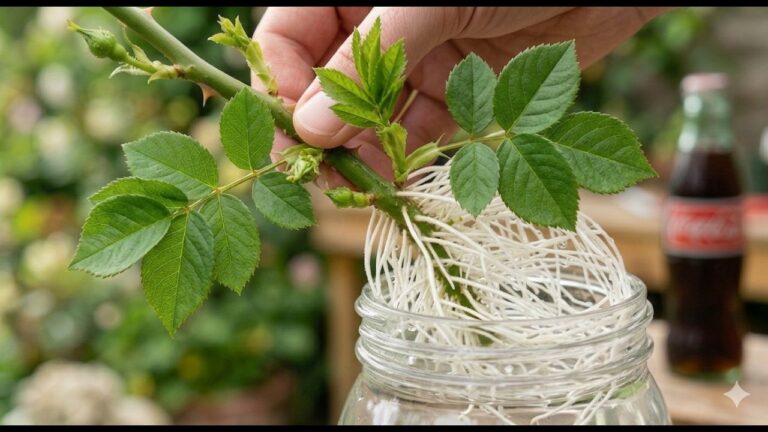
Place the cuttings in a jar of water, covering the cut ends. Change the water weekly and mist the cuttings regularly.
Rooting in Soil
Alternatively, plant the cuttings directly into pots or the ground, ensuring the soil is moist but not soggy. Keep them in a cool place and avoid direct sunlight to encourage root growth.
Step 4: Wait for Roots
New roots will develop in 6 to 12 weeks, and you can expect new shoots to grow. Patience is key; avoid harvesting the first flowers to allow for healthy root development.
Conclusion
Propagating elderberries not only benefits you but also supports local wildlife. With this guide, you’re well on your way to enjoying your own elderberry harvest for years to come. Happy gardening!
“`