Discover 5 Simple Steps to Fast Rose Propagation Success!
Essential Steps for Successful Rose Propagation
Introduction
Have you ever admired a friend’s garden filled with vibrant roses and wished for a similar display in your own yard? While purchasing rose plants from a nursery is one option, propagating your own roses can be a rewarding and cost-effective way to achieve that garden oasis. But where do you start? The art of rose propagation might seem daunting, yet understanding a few crucial steps can lead you to success. Let’s explore how you can turn your gardening dreams into reality.
Required Materials
Before diving into the propagation process, it’s essential to gather the right materials. Here’s what you will need:
- Healthy rose stems – Look for new growth during the growing season.
- Sharp pruning shears – Ensure clean cuts to promote healthy growth.
- Planting medium – Use a mix of potting soil and perlite for optimal drainage.
- Containers – Small pots or seed trays are ideal for root development.
- Plastic bag or a clear plastic dome – This will create a humid environment.
Step-by-Step Guide
With your materials ready, it’s time to start the propagation process. Follow these structured steps for the best results:
- Choose the right time – Late spring or early summer is the best time to propagate roses.
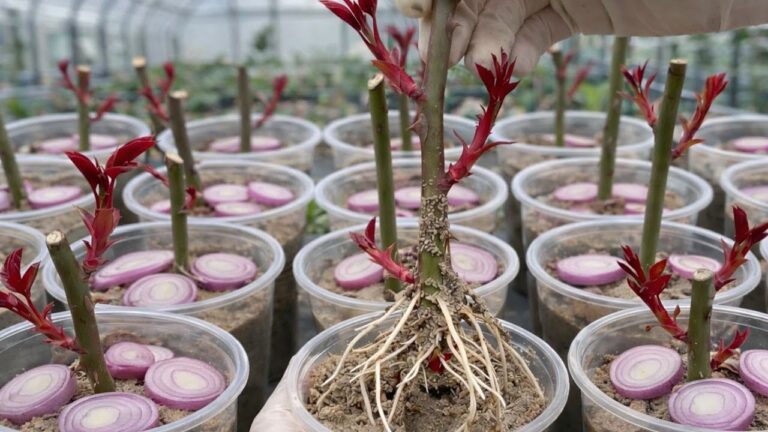
- Cut the stems – Select healthy stems about 6 inches long with at least two sets of leaves. Cut just below a leaf node.
- Prepare the cuttings – Remove the lower leaves, leaving only a few at the top. This minimizes moisture loss.
- Plant the cuttings – Place the cuttings in your prepared planting medium, burying them about 2 inches deep. Space them appropriately if using multiple cuttings.
- Create a humid environment – Cover the pots with a plastic bag or a clear dome, ensuring they don’t touch the leaves. This helps maintain moisture.
During the propagation phase, keep the soil moist but not soggy. Ideally, place the containers in a warm, indirect light area.
Tips for Promoting Root Growth
- Consider using rooting hormone to enhance growth.
- Check humidity levels regularly and avoid direct sunlight to prevent heat stress.
- Be patient; roots may take several weeks to develop.
Visualizing Your Success
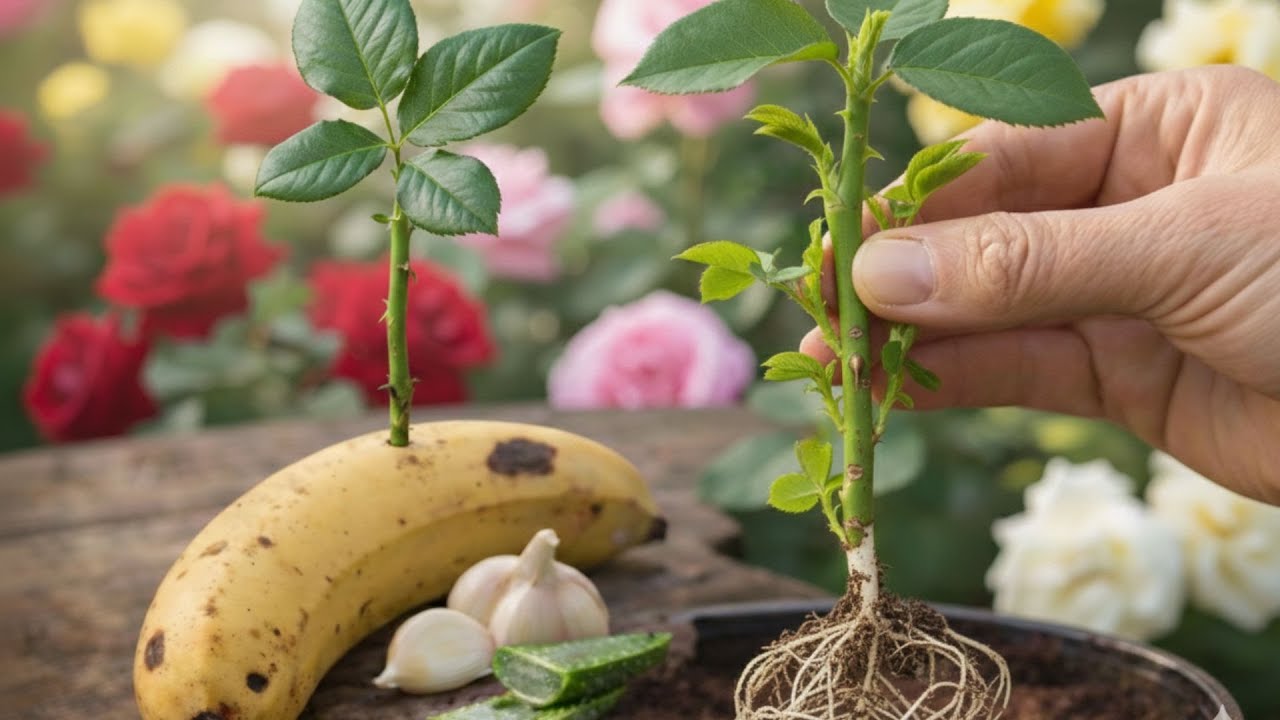
As you follow these steps, envision a future filled with blooming roses in your garden, enhancing your outdoor space with their beauty.
Common Mistakes
Even seasoned gardeners can face challenges during rose propagation. Here are some common mistakes to avoid:
- Using old or unhealthy rose stems can lead to propagation failure.
- Neglecting to keep the soil moist may cause cuttings to dry out.
- Placing cuttings in direct sunlight can scorch the leaves before roots form.
- Forgetting to ventilate the cover can lead to mold growth.
- Rushing the process; patience is critical in encouraging root development.
FAQ
What is the best time of year to propagate roses? Late spring and early summer are optimal for rose propagation, as the plants are actively growing.
How long does it take for rose cuttings to root? Typically, it takes a few weeks to a couple of months for roots to develop, depending on conditions.
Can I propagate roses from store-bought flowers? While it’s possible, it’s often more successful with cuttings from healthy, garden-grown roses.
Conclusion
By following these essential steps for successful rose propagation, you’ll be well on your way to cultivating your own beautiful roses. What type of roses are you excited to propagate in your garden?