Transform 2 Jars into Stunning DIY Home Decor Ideas You’ll Love!
Transforming Jars into Stunning DIY Home Decor Ideas
Do you have a few empty jars lying around your home? Instead of tossing them aside, have you considered giving them a new life as beautiful home decor? Many of us face the challenge of finding unique ways to brighten up our spaces without breaking the bank. Transforming ordinary jars into stunning decor pieces can be both fulfilling and economical. Let’s explore how you can breathe new life into those jars and create eye-catching decorations that reflect your style.
Required Materials
Before you start your DIY journey, gather the necessary materials. Here’s what you’ll need:
- Cleaned glass jars (various sizes)
- Paints (acrylic or spray paint)
- Brushes or sponges for painting
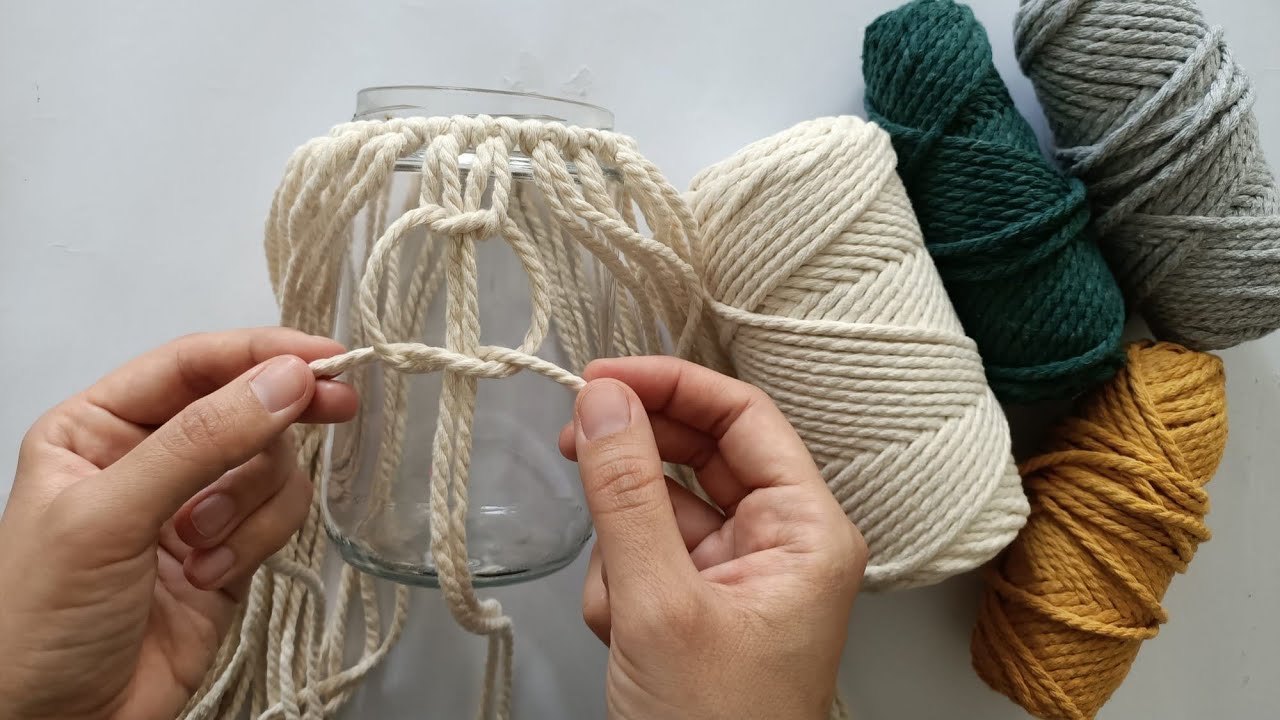
- Twine or ribbon for decoration
- Sequins, beads, or other embellishments
- Adhesive (glue or Mod Podge)
- Floral foam or small potted plants (if creating planters)
- LED tea lights (for illuminated decor)
Once you have these materials ready, you’ll be set to create beautiful home decor items!
Creative Decorating Ideas
Now that you have your materials, let’s explore a couple of charming decorating styles you can use to transform your jars:
1. Coastal Vibes
For a serene, beachy feel, paint your jars in soft blues and sandy beige. Here are some ideas:
- Embellish with twine around the neck to mimic a nautical rope.
- Add sand and small seashells inside the jar for a beach-inspired centerpiece.
2. Rustic Charm
Channel a cozy farmhouse aesthetic by using matte, earthy colors. Consider these ideas:
- Paint the jar a muted green or brown and distress the surface with sandpaper for a vintage look.
- Fill the jar with dried flowers or branches to create a stunning natural arrangement.
Step-by-Step Guide
Let’s dive into the process of transforming your jars into enchanting decor pieces with a simple guide.
Step 1: Preparation
Start by cleaning your jars thoroughly to remove any labels and residue. Allow them to dry completely.
Step 2: Painting
- Apply a base coat of paint to your jar using either a brush or spray paint. Ensure even coverage.
- Allow the first coat to dry, then apply a second if necessary for deeper color.
Step 3: Embellishing
- Add decorative elements like twine, beads, or sequins. Use glue to secure them in place.
- Feel free to get creative! Mix different textures and colors for a unique look.
Step 4: Final Touches
- If creating a planter, place floral foam in the bottom and add small plants.
- For illuminated jars, insert an LED tea light to create a cozy ambiance.
Mistakes to Avoid
While crafting can be fun, it’s important to be mindful of common pitfalls. Here are a few mistakes to steer clear of:
- Skipping prep work can lead to paint peeling off your jars later on.
- Using inappropriate paint not suited for glass can cause flaking or poor adhesion.
- Overloading on embellishments may clutter the overall design and take away from its elegance.
FAQ
Can I use regular paint on glass jars? It’s best to use paint specifically designed for glass or acrylic, as regular paint may not adhere well.
How do I remove paint from glass jars? You can soak the jars in warm, soapy water to help remove the paint easily.
What are some good uses for decorated jars? Decorated jars can serve as vases, storage containers, or candle holders – the possibilities are endless!
Conclusion
Transforming simple jars into stunning decor can add a personalized touch to your home. With a little creativity and effort, you can enjoy beautiful handmade pieces that reflect your style. What type of jar decor are you excited to create next? Share your ideas in the comments below!