Transform Cardboard & Sawdust into 5 FREE DIY Wood Pellets for Sustainable Energy!
Transform Cardboard and Sawdust into Free DIY Wood Pellets for Sustainable Energy
Introduction
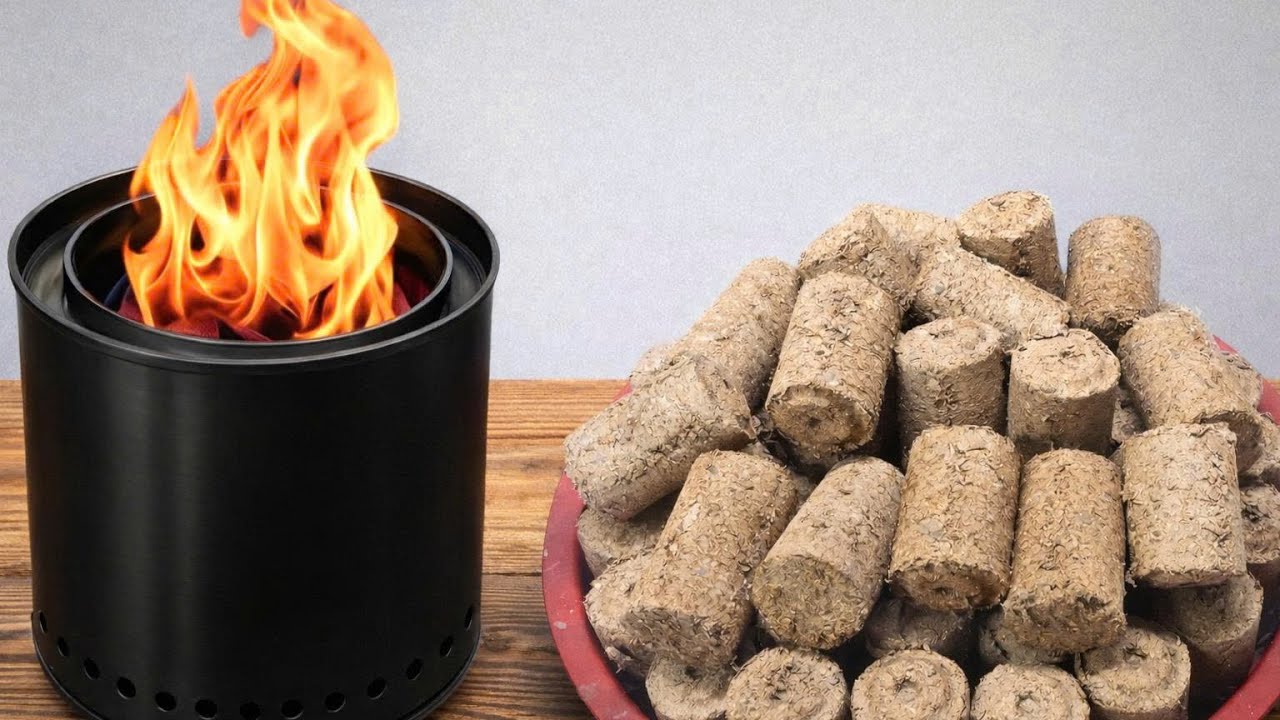
With rising energy costs and growing concerns for the environment, many are seeking sustainable alternatives for heating and energy needs. You might have noticed that common household items like cardboard and sawdust often end up in the trash. Little do many realize that these materials can be transformed into wood pellets, providing a resourceful solution for eco-friendly heating. In this guide, you’ll discover how to create your own pellets from materials you likely already have on hand.
Materials Needed
Before diving into the creation of your wood pellets, it’s essential to gather the right materials. Below are the key items you’ll need:
- Cardboard – Shredded into small pieces
- Sawdust – Preferably from untreated wood
- Water – For mixing
- Pellet mill or wood pellet maker – For shaping
- Drying area – To ensure the pellets dry completely
Step-By-Step Guide
Creating your own DIY wood pellets involves a straightforward process. Follow these detailed steps:
1. Preparing the Materials
Begin by properly preparing your materials:
- Shred the cardboard into smaller pieces. This helps it break down easily when mixed.
- Collect sawdust. Make sure it is free of chemicals and contaminants, as untreated sawdust will yield better results.
- Combine shredded cardboard and sawdust in a large container in a ratio of 2:1, respectively.
2. Adding Moisture
Next, you’ll need to add moisture to your mixture:
- Add water gradually to your cardboard-sawdust mix until it is damp but not soaking wet. Aim for a consistency similar to a damp sponge.
- Mix thoroughly using your hands or a tool to ensure that all materials are evenly saturated.
3. Pelletizing the Mixture
Now it’s time to shape your pellets:
- Feed the moist mixture into your pellet mill or wood pellet maker.
- Collect the newly formed pellets as they come out, ensuring they are uniform in size. This can usually take just a few minutes.
4. Drying the Pellets
After pelletizing, drying is crucial:
- Spread the pellets out in a thin layer on a drying rack or tray.
- Allow them to dry in a well-ventilated area for at least 24-48 hours. Ensure they are completely dry before storage.
5. Storing Your Pellets
Once dry, proper storage is vital:
- Store the wood pellets in a waterproof container to keep them safe from moisture.
- Label your storage container clearly to avoid confusion with other materials.
Common Mistakes to Avoid
Creating DIY wood pellets can be straightforward, but there are several common pitfalls to be aware of:
- Using too much water can result in a messy mixture that doesn’t bind well.
- Not shredding the cardboard finely enough may hinder the binding process.
- Using treated wood sawdust can introduce chemicals you don’t want in your pellets.
- Skipping the drying process can lead to mold and reduced efficiency during burning.
- Storing pellets in an unprotected area may expose them to moisture, ruining your efforts.
FAQ
Can I use any cardboard? Yes, but avoid cardboard with heavy inks or coatings, as these can introduce toxins.
How long will my homemade wood pellets last? When stored correctly, your pellets can last for several months.
Can I mix different types of sawdust? Yes, as long as they are untreated, mixing types can add variety to your pellets.
Conclusion
Transforming cardboard and sawdust into your own wood pellets is an excellent way to promote sustainability and reduce waste. By following these steps, you can create a valuable energy resource right in your home. What will you do with your newfound knowledge about DIY wood pellets?