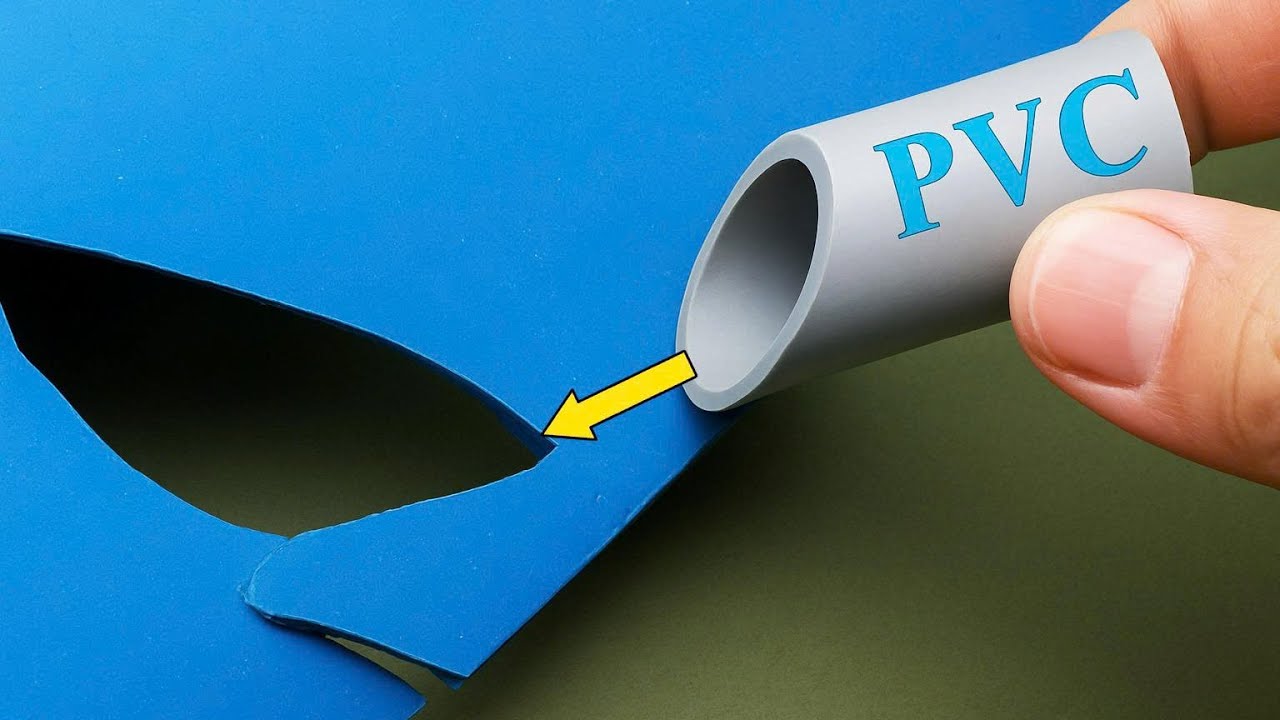
Unlock 5 Secrets to Mastering Intelligent Plastic Repair Like a Level 100 Pro
Mastering Intelligent Plastic Repair: 5 Essential Tips for Success
- Understanding Plastic Repair Techniques
- Essential Materials for Successful Repairs
- Step-by-Step Repair Guide
- Common Mistakes to Avoid
- Frequently Asked Questions
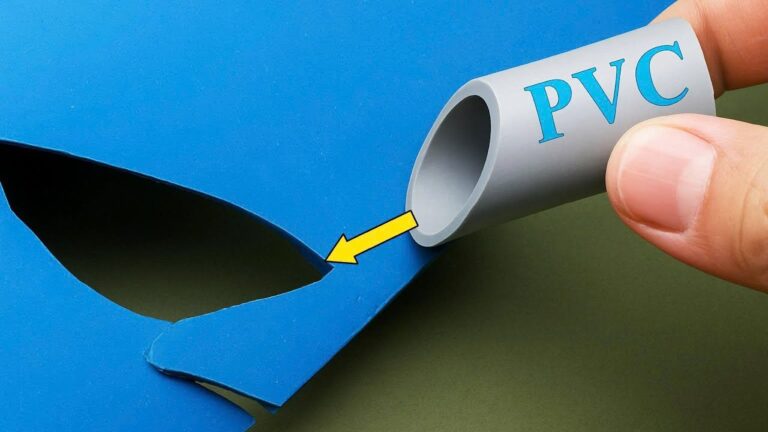
When you accidentally crack your child’s favorite plastic toy or find a dent in a cherished garden chair, it can be disheartening. The thought of replacing these items might cross your mind, but why not consider a DIY approach instead? Learning about intelligent plastic repair techniques can save you money while allowing you to restore your belongings with pride. Discover the secrets behind effective plastic repair and gain the confidence to tackle your next project.
Understanding Plastic Repair Techniques
Before diving into repairs, it’s essential to understand the types of plastics and the methods for repairing them. This knowledge arms you with the tools to choose the right technique for various projects.
Different Types of Plastic
- Polypropylene: Commonly used in containers and automotive parts.
- ABS: Found in household items and toys; it’s sturdy but can be tricky to repair.
- Polyethylene: Used in flexible applications like bags and bottles, often requiring specialized adhesives.
Common Repair Methods
- Epoxy resin: Best for filling gaps and strengthening bonds.
- Plastic welding: A technique that fuses plastics, often requiring a heat source.
- Adhesives: Various options like superglue and specialty plastic adhesives provide different strengths and finishes.
Essential Materials for Successful Repairs
Having the right materials can make your repair process much smoother. Here’s a list of essential items you might need.
Basic Tools
- Craft knife: Useful for trimming and smoothing edges before repairing.
- Sandpaper: Helps create a rough surface for better adhesion.
- Screwdriver: May be required for disassembly of complex items.
Repair Materials
- Epoxy glue: Versatile and strong for most plastic types.
- Plastic filler: Ideal for larger gaps that need to be filled and sanded down.
- Heat source: For welding, a simple soldering iron can work wonders.
Step-by-Step Repair Guide
Once you’re equipped with the right knowledge and materials, it’s time to pursue your project with confidence. Follow these steps to ensure a successful intelligent plastic repair.
Step 1: Clean the Surface
Begin by cleaning the plastic item thoroughly. Remove any dirt, oil, or residue with soap and water, and let it dry completely.
Step 2: Prepare the Area
Use a craft knife or sandpaper to create a textured surface around the damage. This helps the adhesive bond strongly.
Step 3: Apply the Adhesive
Whether you’re using epoxy or a plastic-specific adhesive, follow the manufacturer’s instructions for mixing and application. Press the pieces together and hold them for the recommended time.
Step 4: Smooth the Repair
Once the adhesive has cured, use sandpaper to smooth out the repair for a seamless finish. If you’re using filler, apply it and sand it down after it dries.
Step 5: Final Touches
Paint or color match the repaired area if necessary. This can help blend the fix into the existing design and make it less noticeable.
Common Mistakes to Avoid
- Skipping cleaning: Not cleaning the surface can prevent proper adhesion.
- Using incompatible adhesives: Different plastics require specific types of adhesives for strong bonds.
- Rushing the curing time: Allowing the adhesive to cure fully is essential for a lasting repair.
- Ignoring safety measures: Always use gloves and work in a well-ventilated area when using strong chemicals.
Frequently Asked Questions
What types of plastics can I repair?
You can repair various plastics, including ABS, polypropylene, and polyethylene. Each type may require different methods or adhesives.
How do I know if the repair will be strong enough?
The strength of your repair largely depends on the adhesive used and proper surface preparation. Follow instructions closely for best results.
Can I paint over the repair?
Yes, you can paint over most repairs for a uniform look. Ensure the adhesive has cured properly before applying paint.
In summary, mastering intelligent plastic repair involves understanding different plastics, using the right materials, and following a structured approach. Have you had any experiences with plastic repairs that you’d like to share? Your insights could be invaluable to others.