3 Simple Steps to Easily Propagate Roses at Home 🌹
How to Propagate Roses at Home: A Step-by-Step Guide
Introduction
Have you ever admired the beauty of roses in a neighbor’s garden and wished you could recreate that charm in your own space? Perhaps you’ve thought about how wonderful it would be to grow your own rose bushes at home, but the idea of propagation feels daunting. Many people share this concern, unsure of where to begin and what techniques to use. Understanding the propagation of roses can unlock your gardening potential and enhance your outdoor space. Read on to discover how you can easily achieve this beautiful endeavor.
Required Materials
Before diving into the process of propagating roses, gather these essential materials:
- Rose cuttings: Choose healthy stems from an existing rosebush.
- Potting soil: A well-draining mix is ideal for rooting.
- Containers: Use small pots or trays to hold the cuttings.
- Water: Ensure you have clean water for watering your cuttings.
- Plastic bag or dome: This helps to create a humid environment.
These materials will create a suitable environment for your rose propagation efforts, ensuring your cuttings have the best chance of success.
Propagation Steps
Here’s a simple guide to help you with the steps of propagating roses:
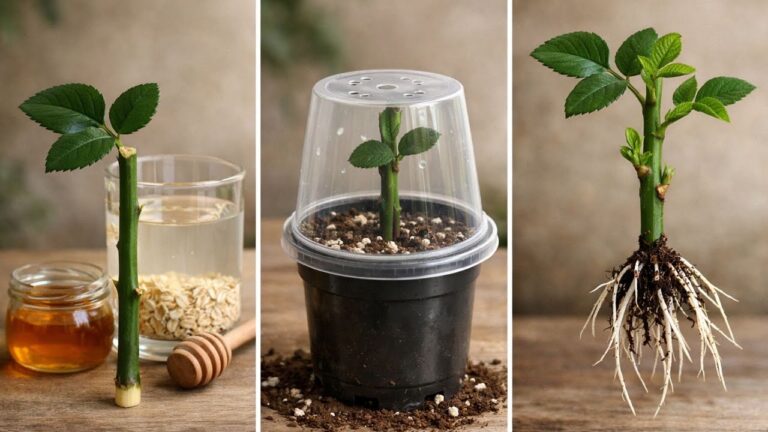
1. Take Cuttings
- Choose healthy stems: Select stems that are about 6 to 8 inches long, ideally from the current season’s growth.
- Make the cut: Use clean, sharp pruners to cut just below a leaf node.
- Remove excess leaves: Trim the lower leaves, leaving one or two at the top.
2. Prepare the Cuttings
- Dip in rooting hormone: Although optional, this can improve success rates. It helps promote root development.
- Plant the cuttings: Insert the cuttings into the potting soil, ensuring that at least one leaf node is buried.
- Water gently: Mist the soil to avoid displacing the cuttings while ensuring they are moist.
3. Create a Humid Environment
- Cover the cuttings: Place a plastic bag or dome over the pots to maintain humidity.
- Check regularly: Monitor for moisture and remove the cover occasionally to prevent mold growth.
- Wait for roots to develop: This may take several weeks. You’ll know they are ready when you see new growth.
By following these steps, you can successfully propagate your own roses and eventually enjoy their beauty in your garden.
Common Mistakes to Avoid
- Using unhealthy cuttings: Always select cuttings from healthy plants to ensure success.
- Overwatering: Too much moisture can lead to root rot. Keep the soil damp but not soggy.
- Insufficient light: While your cuttings need humidity, they also require indirect light for optimal growth.
- Neglecting temperature: Ensure that the environment is warm, as cooler temperatures can slow root development.
- Rushing the process: Patience is key. Allow your cuttings enough time to root before trying to transplant them.
FAQ
1. How long does it take for rose cuttings to root?
It usually takes about 4 to 6 weeks for rose cuttings to develop roots, depending on environmental conditions.
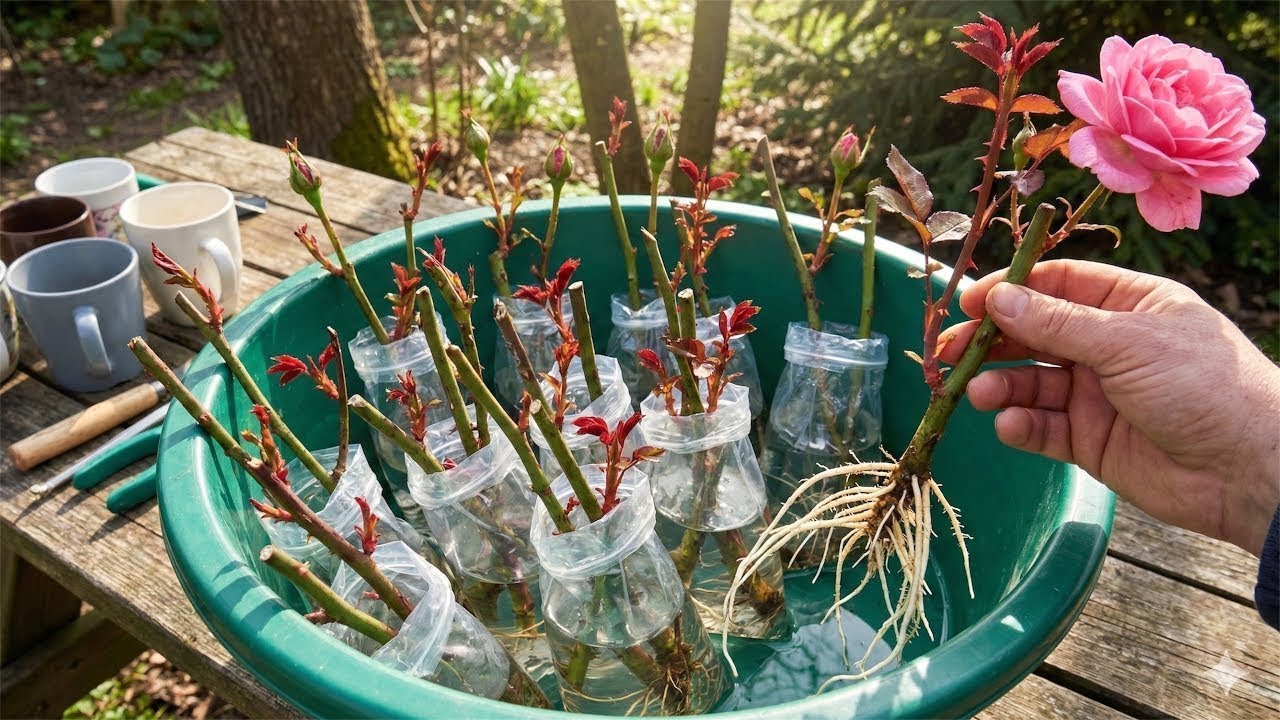
2. Can I propagate roses in water?
Yes, you can propagate some types of roses in water, but using soil is generally more reliable.
3. What is the best time to take rose cuttings?
The best time to take cuttings is during the growing season, typically in late spring to early summer, when the stems are more flexible.
Conclusion
With the right materials and techniques, propagating roses can be a rewarding experience that enhances your garden. By avoiding common mistakes and following these straightforward steps, you can enjoy the beauty of newly grown roses in your home. What types of roses are you thinking about propagating? Share your thoughts in the comments below!