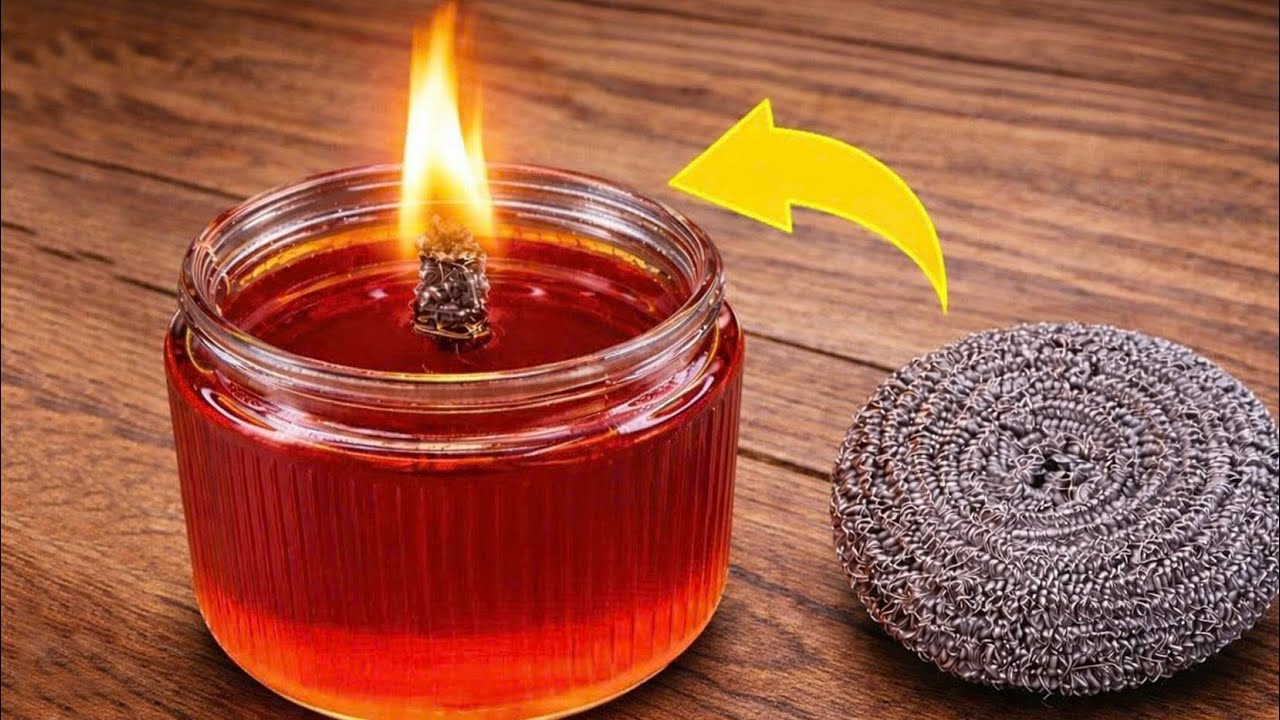
7 Steps to Create a DIY Candle Wick That Burns Forever and Saves You Money!
How to Create a DIY Candle Wick That Burns Long and Saves You Money
Introduction
Have you ever been frustrated by a candle wick that just won’t stay lit, causing you to waste precious wax and money? If you’re tired of constantly buying new candles, it’s time to take matters into your own hands. Making your own candle wick can be a fun and rewarding project, allowing you to save money while creating a product tailored to your preferences. With just a few materials and steps, you can enjoy longer-lasting, homemade candles. Read on to discover how!
Required Materials
Before diving into your DIY candle wick project, it’s essential to gather all the necessary materials. Here’s what you’ll need:
- Cotton string – Choose a natural, untreated cotton for the best results.
- Beeswax or paraffin wax – This will help to strengthen your wick and ensure a clean burn.
- Scissors – For cutting the string to your desired length.
- A heat source – A double boiler or a small saucepan will work well for melting wax.
- Container – Use a glass jar or small bowl to hold the wax and wick as you work.
Step-by-Step Guide
Creating your own candle wick is straightforward with these easy-to-follow steps:
1. Prepare the Wick
- Cut the cotton string to your desired wick length, typically about 6 inches longer than your candle height.
- Twist the cotton string slightly for added stability, but don’t over-twist it to ensure it burns properly.
2. Melt the Wax
- Heat the beeswax or paraffin wax in your double boiler until it’s fully melted. Stir occasionally for even heating.
- Remove the wax from the heat once completely melted, allowing it to cool slightly but not solidify.
3. Dip the Wick
- Dip the cotton string into the melted wax, ensuring it’s completely coated. This helps to create a wick that burns for a longer time.
- Hang the wick to cool for a few minutes, allowing the wax to harden around it.
4. Create Multiple Wicks
If you’d like to make several wicks at once, repeat steps two and three. You can store extra wicks for future candle-making projects.
5. Trim and Test
- Cut the wicks to the desired length, usually about ½ inch above the candle surface.
- Test your wick by lighting it and ensuring it burns steadily without excessive smoke.
Common Mistakes
When creating your own candle wick, there are a few common mistakes to watch out for:
- Using treated or synthetic string – This can lead to an uneven burn and unpleasant fumes.
- Making the wick too thick – A wick that’s too thick can burn too fast and produce soot.
- Skipping the wax dipping process – Failing to coat your wick in wax can result in a short burn time and poor performance.
FAQ
How long do DIY candle wicks last?
With proper preparation and materials, your DIY candle wicks can last for several hours, depending on the candle size and wax type used.
Can I use other materials for the wick?
While cotton is ideal for a clean burn, you can experiment with hemp or wood for different burning properties, but be aware of potential smoke issues.
How do I know if my wick is appropriate for my candle size?
A good rule of thumb is to choose a wick that matches the diameter of your candle. Thicker candles generally require thicker wicks for optimal burning.
Conclusion
Creating your own DIY candle wick can enhance your candle-making experience and lead to savings in the long run. With a bit of practice and attention to detail, you’ll produce wicks that burn longer and cleaner. What type of candles do you plan to make with your new wicks? Share your ideas in the comments below!