5 Easy Tips to Repair Your Damaged Shoes and Sandals Today!
5 Easy Tips to Repair Your Damaged Shoes and Sandals Today
Introduction
It’s frustrating when your favorite pair of shoes or sandals shows signs of wear. Maybe the sole has started to peel, or a strap has come loose just when you want to wear them out. Rather than tossing them aside, there’s hope for their repair. This guide will walk you through practical tips to restore your beloved footwear to its former glory, ensuring you can get more wear out of them. Read on to discover how easy shoe repair can be!
Essential Supplies for Shoe Repair
Before diving into repairs, it’s essential to gather the right materials. Having everything on hand will make the process smoother and more efficient.
1. Basic Repair Tools
- Craft knife: Useful for precise cuts and trimming damaged areas.
- Glue: Choose a strong adhesive like shoe glue or super glue to ensure a sturdy repair.
- Sewing kit: Needles and durable thread for reattaching loose straps or stitching torn areas.
2. Protective Materials
- Sandpaper: Helpful for smoothing rough edges on surfaces before gluing.
- Clamps or weight: To hold pieces together while the glue sets.
3. Finishing Touches
- Leather conditioner or polish: Restores shine and protects the material after repairs.
- Waterproofing spray: Ideal for protecting newly repaired areas from future damage.
Step-by-Step Repair Techniques
Repairing your shoes can be straightforward if you follow these techniques. Here are a few common issues and how to fix them:
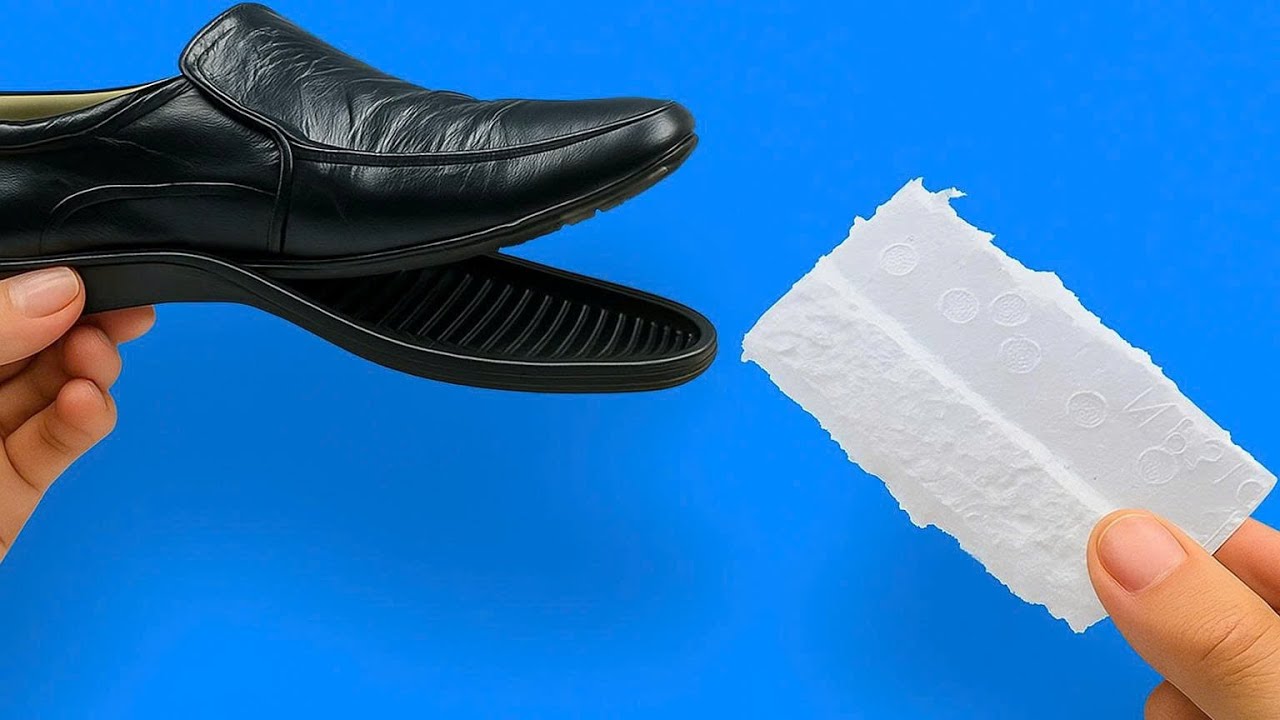
Repairing a Peeling Sole
- Clean: Start by cleaning both surfaces of the sole and shoe with a damp cloth to remove dirt.
- Apply glue: Spread a thin layer of glue evenly on both surfaces.
- Press together: Firmly press the sole back onto the shoe and use clamps or weights to hold it in place.
- Let it dry: Allow the adhesive to cure for the time recommended on the packaging.
Fixing Straps or Ties
- Identify: Assess the damage to the strap or tie.
- Sew or glue: If it’s a clean break, you can either sew it back together or apply glue as needed.
- Reinforce: Consider adding an extra layer of fabric or leather to reinforce the area.
Addressing Small Holes or Tears
- Clean the area: Use a damp cloth to ensure it’s free from dirt or moisture.
- Patch: Cut a small piece of fabric or leather and glue it over the hole, ensuring it blends in.
- Sew edges: If needed, sew the edges for added security.
Common Mistakes
While repairing shoes can be straightforward, there are some pitfalls to avoid to ensure you get the best results.
- Using the wrong glue: Always choose a type designed for shoes to ensure durability.
- Not cleaning surfaces: Failing to clean the areas before applying glue can lead to a weak bond.
- Overloading with glue: Using too much glue can make a mess and compromise the look of your shoe.
- Ignoring drying times: Rushing the process by not allowing adequate drying time can undo your hard work.
FAQ
Can I repair my shoes without professional help?
Yes, many common issues can be fixed easily at home with the right tools and techniques.
What type of glue is best for shoe repair?
Look for strong adhesive products specifically formulated for shoe repair, such as shoe glue or flexible super glue.
How long does it take for glue to dry on shoe repairs?
Drying time can vary, but it’s suggested to allow at least 24 hours for the best bond strength.
Conclusion
Repairing your damaged shoes and sandals can extend their life and save you money. By gathering the right materials and applying these techniques, you can tackle common issues with ease. What repair tips have you found useful in your own shoe maintenance?