Root 5 Rose Cuttings Fast with Just One Spoon – Discover the Secret Gardeners Love!
Root 5 Rose Cuttings Fast with Just One Spoon
- Introduction
- Required Materials
- Step-by-Step Guide to Rooting Rose Cuttings
- Common Mistakes to Avoid
- FAQ
- Conclusion
Introduction
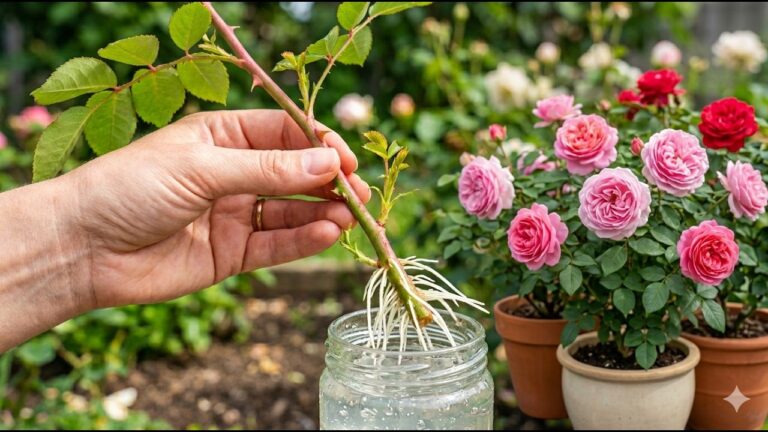
Have you ever watched a rose bush flourish only to wish you could replicate its beauty in your own garden? Perhaps you’ve noticed your favorite variety at a friend’s home and fantasized about having your own bushes blooming with those stunning flowers. The challenge of propagating roses can sometimes discourage you, but there are simple ways to do it effectively. By understanding the process of rooting rose cuttings, you can transform your garden with beautiful blossoms in no time. Let’s explore how you can make this happen.
Required Materials
Before you begin your journey into rooting rose cuttings, gathering the right materials is crucial for success. Here’s what you need:
- Rose cuttings: Choose healthy stems from a flourishing rose bush.
- Sharp scissors or pruning shears: A clean cut is essential for proper healing.
- Clear plastic bag or plastic wrap: This will create a mini-greenhouse for your cuttings.
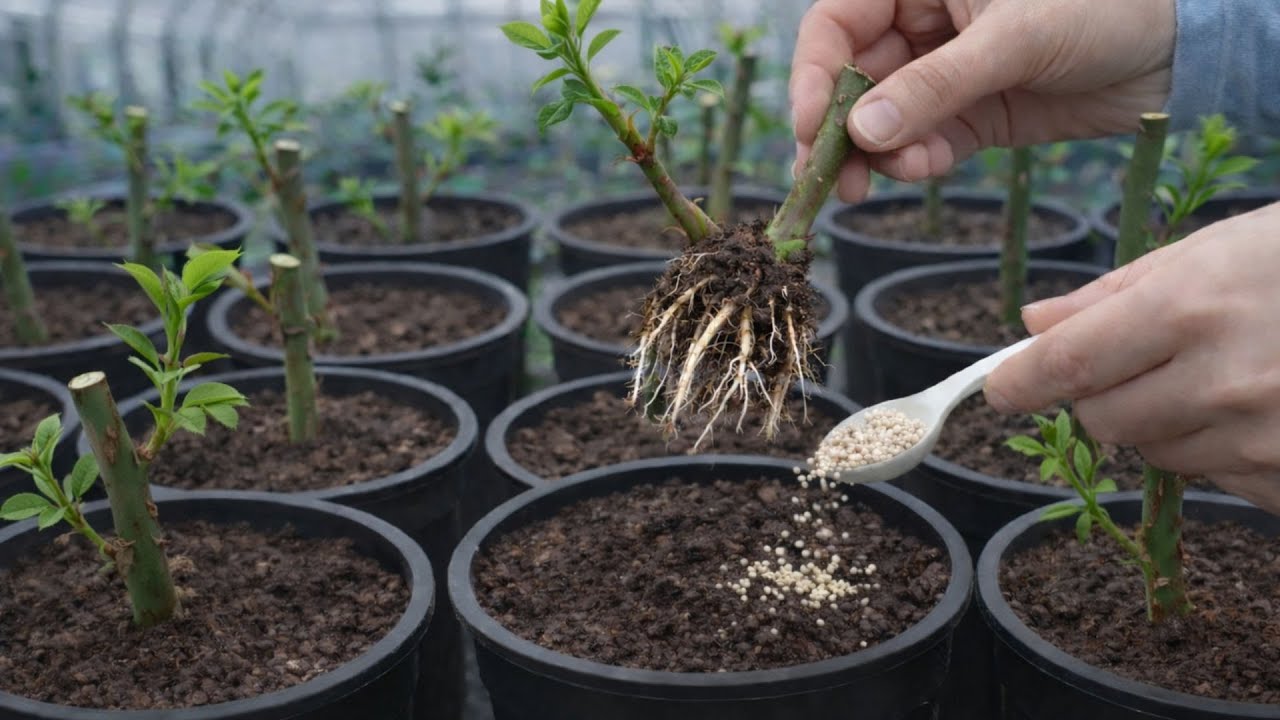
- Rooting hormone: Optional, but can significantly enhance rooting success.
- Potting soil: A light and well-draining soil mix is preferred to encourage healthy roots.
Step-by-Step Guide to Rooting Rose Cuttings
Now that you have your materials ready, let’s dive into the steps to successfully root rose cuttings. Follow these guidelines closely for the best results.
1. Prepare Your Cuttings
- Choose a healthy stem that is at least 6 inches long with multiple leaf nodes.
- Using sharp scissors, cut the stem at a 45-degree angle just below a node. Remove any flowers or buds.
- If you’re using rooting hormone, dip the cut end into the hormone for a few seconds.
2. Plant Your Cuttings
- Fill a small pot with the potting soil, ensuring it is damp but not soggy.
- Create a hole in the soil with your finger or a pencil to avoid damaging the cut end.
- Place the cutting into the hole and gently firm the soil around it to provide support.
3. Create a Humid Environment
- Cover the pot with a clear plastic bag or wrap to retain moisture. Ensure it doesn’t touch the leaves.
- Place the pot in a warm area with indirect sunlight.
- Check regularly to ensure the soil remains moist; mist the inside of the plastic if needed.
4. Monitor Growth
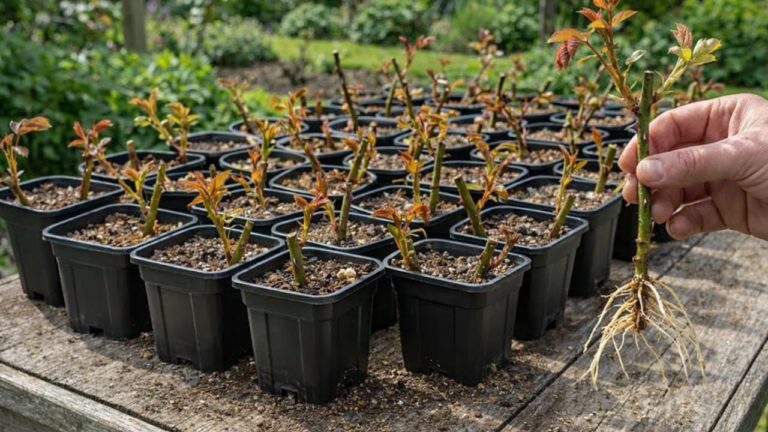
- After 4-6 weeks, gently tug on your cutting to see if there’s resistance, indicating root development.
- Once roots form, gradually acclimate the plant by removing the plastic covering for a few hours each day.
- Eventually, remove the plastic entirely and transfer the new rose to a larger pot or directly into your garden.
Common Mistakes to Avoid
Even with a clear plan, certain missteps can hinder your rose propagation efforts. Here are common pitfalls to watch for:
- Using old or unhealthy cuttings: Always select vigorous stems to ensure the best chance of success.
- Overwatering: Too much moisture can lead to rot; ensure the soil is damp but well-draining.
- Insufficient light: Without adequate indirect sunlight, your cuttings may not thrive.
- Neglecting humidity: A covered pot creates essential humidity for root development; don’t skip this step.
FAQ
How long does it take to root rose cuttings? Generally, it takes about 4 to 6 weeks for rose cuttings to develop roots, but this can vary based on conditions.
Can I use any type of rose for cuttings? While most roses can be propagated this way, hybrid and heirloom varieties tend to root more successfully.
Is rooting hormone necessary? While not strictly necessary, rooting hormone often boosts the chances of successful propagation, especially for beginners.
Conclusion
By following these simple steps to root rose cuttings, you can expand your garden beautifully. With patience and care, soon you’ll be able to enjoy your own home-grown roses. What varieties are you excited to try propagating? Share your experiences in the comments!