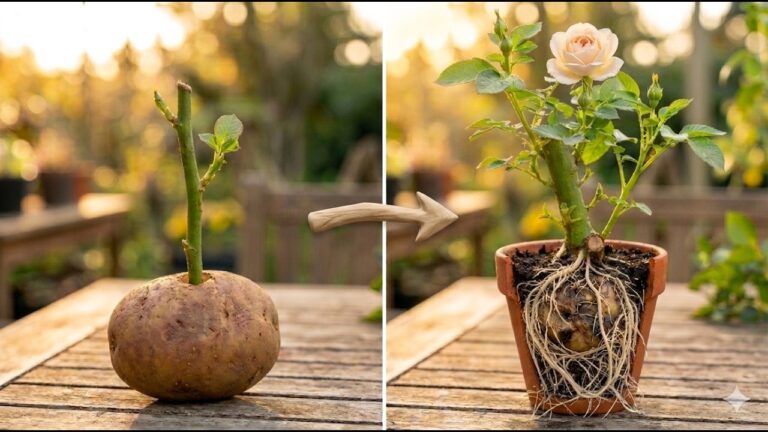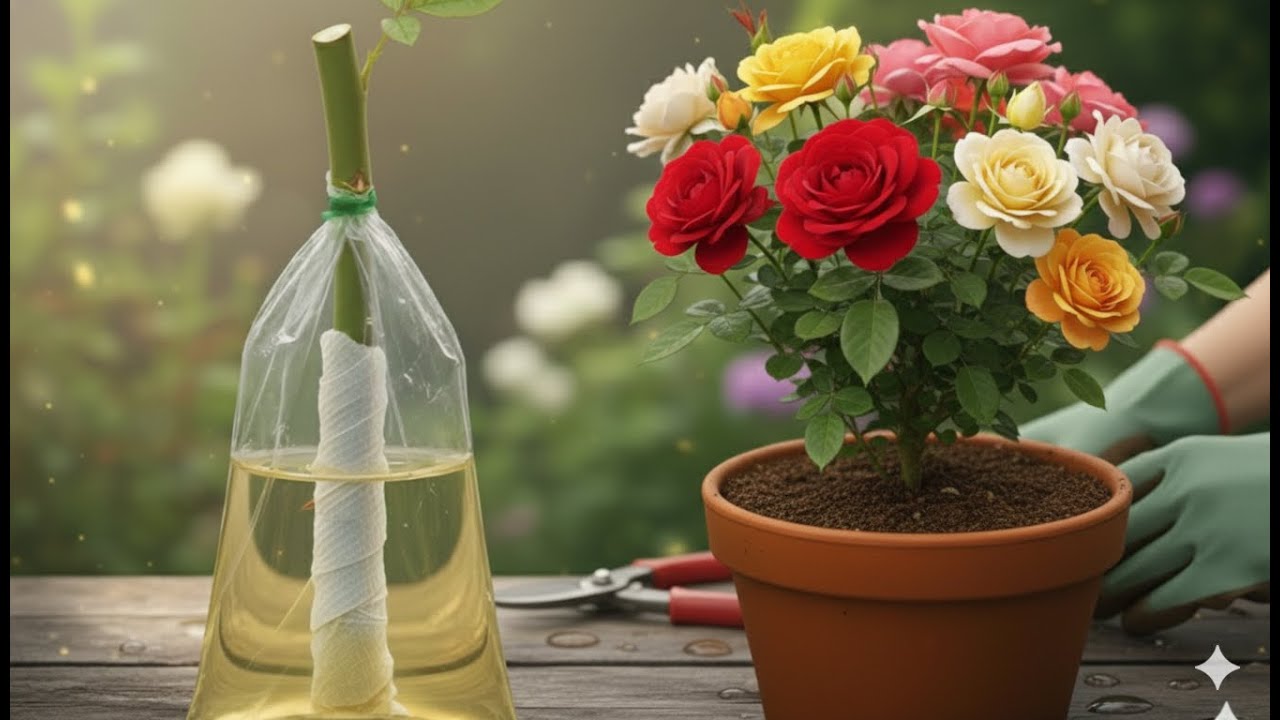
Root Rose Cuttings in 1 Easy Step and Watch Them Thrive!
Root Rose Cuttings in 1 Easy Step for Thriving Plants
- Why Rooting Roses is Important
- Step-by-Step Guide to Rooting Rose Cuttings
- Common Mistakes in Rooting Rose Cuttings
- Frequently Asked Questions
Picture this: you’ve just pruned your beautiful rose bushes and have leftover cuttings. Instead of discarding them, you wonder if you could grow your own roses from these clippings. The thought of nurturing new plants might be exciting, yet the process of rooting can seem daunting. Many gardeners hesitate, unsure of the best methods to ensure success. But the good news is that with a simple step, you can turn those cuttings into thriving plants. Keep reading to discover how.
Why Rooting Roses is Important
Rooting rose cuttings allows you to create new plants without needing to purchase them, saving time and money while enhancing your garden’s beauty. Here are a few reasons why you might want to try this method:
- Cost-effectiveness: Creating new roses from cuttings means you won’t need to buy them, allowing you to expand your garden affordably.
- Preservation of Varieties: If you have a favorite rose variety, propagating it ensures you maintain its unique characteristics.
- Joy of Gardening: Nurturing cuttings into full-grown plants is a rewarding experience, deepening your connection with nature.
Step-by-Step Guide to Rooting Rose Cuttings
Follow these clear steps to effectively root your rose cuttings and watch them flourish:
1. Gather Your Materials
Before you start, make sure you have everything you need:
- Sharp scissors or pruners: Use clean tools to prevent infections.
- Small pots or seed trays: These will hold your cuttings.
- Potting mix: Choose a well-draining mix that retains some moisture.
- Rooting hormone (optional): This can enhance rooting success.
- Plastic wrap or a plastic bag: To create a greenhouse effect.
2. Prepare Your Cuttings
Properly preparing your cuttings is vital for success:
- Choose healthy stems: Look for stems that are about 6 inches long with several leaves.
- Make your cut: Cut at a 45-degree angle just below a leaf node.
- Remove excess leaves: Trim the lower leaves while leaving a few at the top for photosynthesis.
3. Plant Your Cuttings
Now it’s time to plant:
- Dip in rooting hormone: If using, sprinkle the cut end of the cutting in the hormone.
- Place in soil: Make a small hole in the potting mix and insert the cutting, firming the soil around it.
- Cover with plastic: Use the wrap or bag to create a humidity dome over the pot.
4. Care for Your Cuttings
Proper care is essential for rooting:
- Light: Place your cuttings in bright, indirect light.
- Water: Keep the soil slightly moist but avoid overwatering to prevent rot.
- Patience: Roots can take several weeks to develop, so check regularly.
Common Mistakes in Rooting Rose Cuttings
Even seasoned gardeners can make mistakes when rooting rose cuttings. Here are some to watch out for:
- Not using clean tools, which can introduce diseases to the cuttings.
- Planting cuttings too deep, which can suffocate the roots.
- Overwatering, leading to fungal growth and root rot.
- Using poor-quality potting soil that doesn’t provide adequate drainage.
- Neglecting to provide enough light, which can stunt growth.
Frequently Asked Questions
How long does it take for rose cuttings to root? It typically takes about 4 to 8 weeks for rose cuttings to develop roots, depending on the variety and conditions.
Can I root cuttings in water instead of soil? Yes, many gardeners successfully root rose cuttings in water, but they may need more care during the transition to soil.
What is the best time of year to take rose cuttings? Late spring or early summer is ideal for taking cuttings, as the plant is actively growing.
In summary, rooting rose cuttings can be a gratifying addition to your gardening pursuits, enabling you to expand your beautiful collection without extra costs. Have you tried propagating roses before? Share your experiences in the comments!