Root Rose Cuttings in Just 7 Days with This Simple Method!
Root Rose Cuttings in Just 7 Days with This Simple Method
Introduction
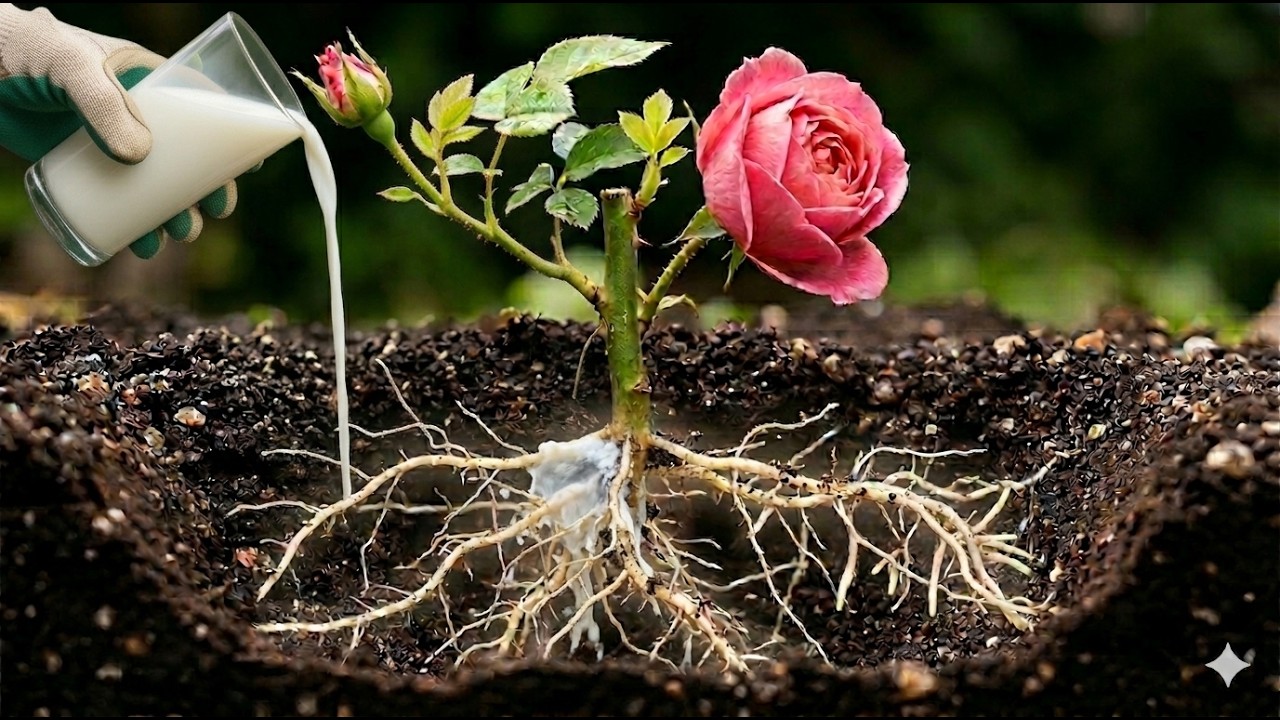
Have you ever wanted to propagate beautiful roses from your existing plants but felt overwhelmed by the process? You’re not alone. Many gardening enthusiasts struggle with the idea of cutting and rooting, unsure of the right techniques to use and the potential success rate. The good news is that rooting rose cuttings can be straightforward and rewarding, allowing you to expand your rose garden with minimal effort. Reading on, you’ll discover the simple method that can help you root rose cuttings in just seven days.
Materials Needed
Before diving into the actual cutting process, gather the essential tools and materials needed for successful propagation.
- Healthy rose plant – Choose a plant that is free of disease and has vibrant foliage.
- Sharp pruners – Having clean and sharp pruners will help make precise cuts, reducing damage to the plant.
- Rooting hormone – This will encourage your cuttings to develop roots more quickly.
- Potting soil – A light, well-draining potting mix will give the cuttings the best chance to thrive.
- Plastic bags or a greenhouse dome – Use this to create a humid environment for your cuttings.
Step-by-Step Guide
Now that you have your materials ready, follow these steps to successfully root your rose cuttings.
1. Select and Cut Your Rose Stems
- Choose healthy stems that are approximately 6 to 8 inches long, preferably from the current season’s growth.
- Make a clean cut below a leaf node to ensure the cutting has the best chance of rooting.
- Remove any flowers or buds on the stem to focus the plant’s energy on root development.
2. Apply Rooting Hormone
Using rooting hormone can significantly increase the success rate of your cuttings.
- Dip the cut end of each stem into the rooting hormone, making sure to cover the wound.
- Tap off any excess powder to prevent rotting.
3. Prepare the Planting Medium
Creating the right environment for your cuttings is crucial.
- Fill small pots with your chosen potting soil, leaving some space at the top.
- Moisten the soil lightly to provide an ideal environment for rooting.
4. Plant the Cuttings
- Make small holes in the soil with your fingers or a pencil.
- Insert the cuttings into the holes, ensuring they are deep enough to stand upright.
- Gently press the soil around each cutting to secure it in place.
5. Create a Humid Environment
Maintaining humidity is key to rooting rose cuttings.
- Cover the pots with plastic bags or a greenhouse dome to trap moisture.
- Place the pots in a warm, indirect sunlight location.
Common Mistakes
When propagating rose cuttings, certain missteps can hinder your success. Here are some common mistakes to avoid:
- Using old or diseased stems – Always select healthy stems to ensure better rooting.
- Overwatering – Excess moisture can lead to rot; ensure the soil is moist but not soggy.
- Neglecting humidity levels – Insufficient humidity can dry out cuttings and prevent root development.
- Forgetting to remove flowers – Leaving blooms can strain the plant, diverting energy from root growth.
- Improper lighting – Avoid direct sunlight on cuttings as it can overheat and dry them out quickly.
FAQ
How long does it take for rose cuttings to root? Rose cuttings generally take about 7 to 10 days to root, depending on the conditions provided.
Can I root rose cuttings in water? While it is possible to root rose cuttings in water, using soil is often more effective for developing a strong root system.
What should I do if my cuttings do not root? If your cuttings don’t root, check for issues like excessive moisture or lack of humidity, and adjust your growing conditions accordingly.
Conclusion
Rooting rose cuttings can be both enjoyable and fulfilling with the right approach. By following the mentioned steps and avoiding common pitfalls, your chances of success will significantly increase. Have you tried propagating rose cuttings before? Share your experiences and tips in the comments below!