1 Spoon to Root Rose Cuttings: Watch Them Bloom Like Crazy!
1 Spoon to Root Rose Cuttings: Watch Them Bloom Like Crazy!
Introduction
Have you ever gazed at your favorite roses and wondered how to cultivate new blooms from cuttings? Watching your beloved roses flourish through propagation can be both a rewarding and cost-effective way to expand your garden. Yet, the process can feel daunting if you’re unsure where to start. Understanding the right techniques is crucial to achieving roots that take hold effectively. Continue reading to uncover simple steps that will help you encourage your rose cuttings to thrive.
Required Materials
Before diving into the propagation process, gather your supplies to ensure a smooth experience. Here’s what you’ll need:
- Clean, sharp scissors for cutting healthy rose stems.
- Rooting hormone to promote root growth.
- Small pots or seed trays filled with a well-draining potting mix.
- Water to keep the cuttings hydrated.
- A plastic bag or a clear plastic cover to create a mini greenhouse effect.
Step-by-Step Guide
Now that you have your materials, let’s explore how to successfully propagate rose cuttings. Follow these steps to enhance your chances of success:
- Choose the right time: Late spring or early summer is the best time to take cuttings from healthy rose plants.
- Cut the stem: Select a 6-inch section from the tip of a healthy stem with several leaf nodes. Make a clean cut just below a leaf node for optimal growth.
- Prepare the cutting: Remove the lower leaves, leaving just a few at the top to focus energy on root development. If desired, dip the end of the stem in rooting hormone to further encourage growth.
- Plant the cutting: Make a hole in the potting mix with your finger or a pencil and gently insert the cutting. Firm the soil around it to provide stability.
- Water and cover: Lightly water the cutting and cover it with a plastic bag or clear container to maintain humidity. Ensure it receives indirect sunlight.
Care Tips for Rose Cuttings
Proper care during the rooting phase is essential. Keep the soil moist but not waterlogged, and check the cuttings regularly for any signs of mold or illness.
Monitoring Growth
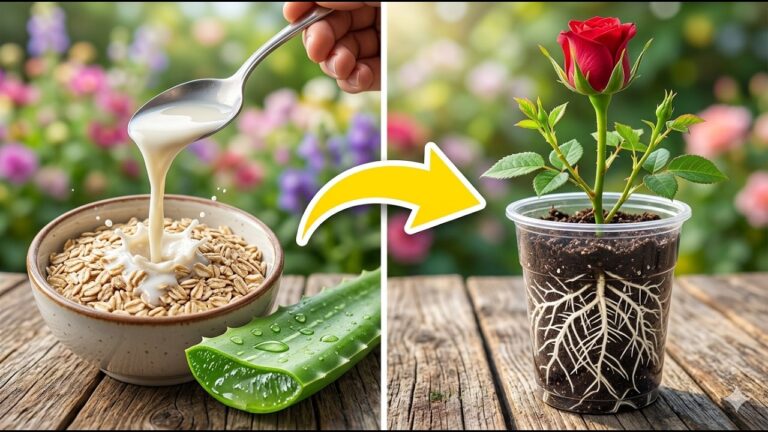
After a few weeks, check for roots by gently tugging on the cutting. If you feel resistance, it’s likely that roots are forming. This process can take anywhere from 2 to 6 weeks depending on the conditions.
Common Mistakes
While propagating rose cuttings can be straightforward, there are several common pitfalls to avoid:
- Using old or unhealthy cuttings: Always select fresh, healthy stems to increase your chances of success.
- Overwatering the cuttings: Be mindful not to drown the cuttings; excess moisture can lead to rot.
- Neglecting humidity: A lack of humidity can result in drying out, so ensure you cover your cuttings appropriately until roots establish.
- Placing in direct sunlight: Cuttings should be in bright, indirect light. Too much sun can scorch them.
- Skipping the rooting hormone: Using rooting hormone can significantly enhance root development, so don’t skip this step.
FAQ
How long does it take for rose cuttings to root? Rooting can take anywhere from 2 to 6 weeks, depending on the variety of rose and the conditions provided.
Can I root rose cuttings in water? While it’s possible, doing so is usually less effective than planting them directly in soil, as roots often need the support of soil for better growth.
What should I do if my cuttings don’t grow roots? If your cuttings fail to root, analyze your process for potential mistakes, such as water levels, humidity, or the health of the cuttings.
Conclusion
Successfully propagating rose cuttings can be a fulfilling task, allowing you to enjoy beautiful blooms while expanding your garden. Remember to choose healthy cuttings, maintain proper conditions, and be patient as roots establish. What type of roses are you excited to propagate? Share your experiences and thoughts in the comments below!